


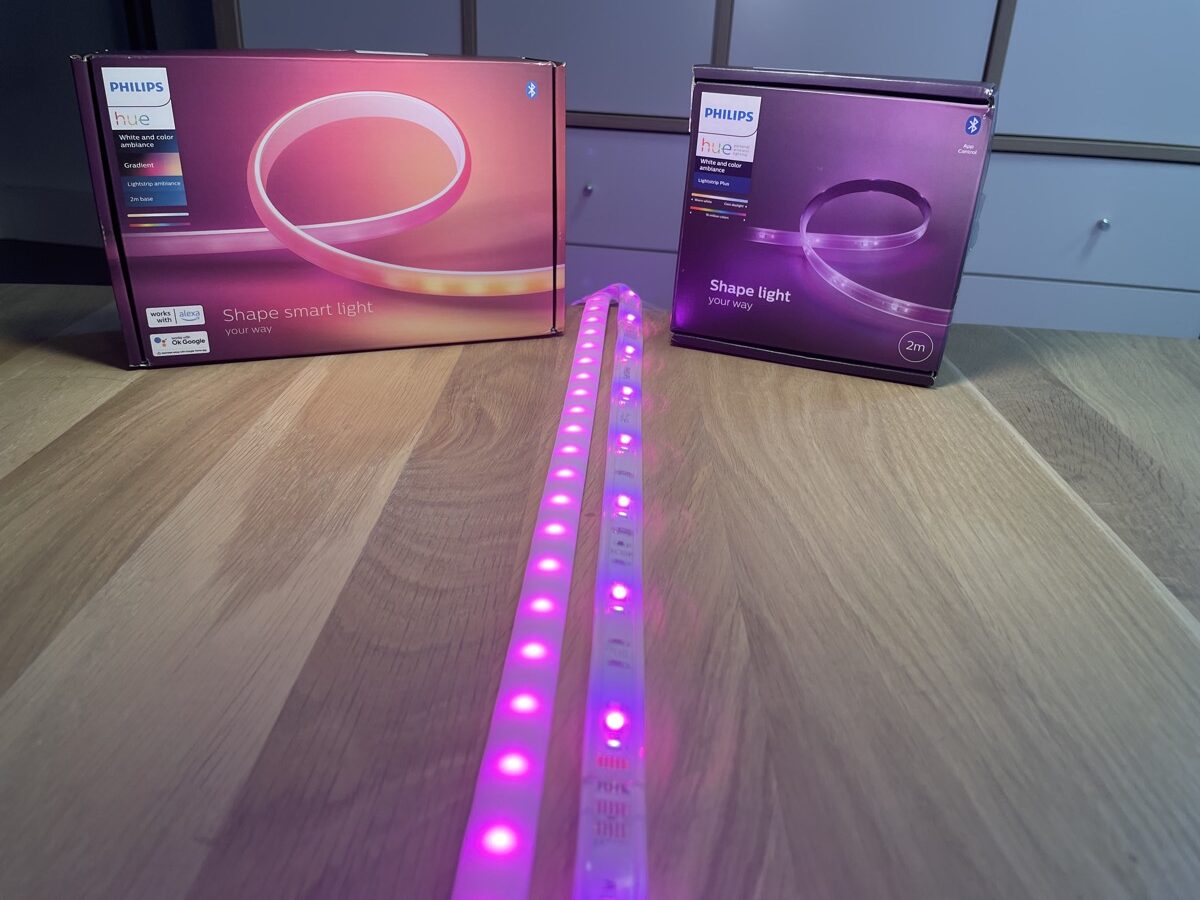
The new Philips Hue Ambiance Gradient Lightstrip has really inspired me personally, even though it is anything but cheap with a price of almost 150 euros for 2 metres. Regardless of whether you focus on the functionality, the workmanship or the technology – the new release is an enormous improvement in all respects compared to the Philips Hue Lightstrip Plus, which will, however, still be available.
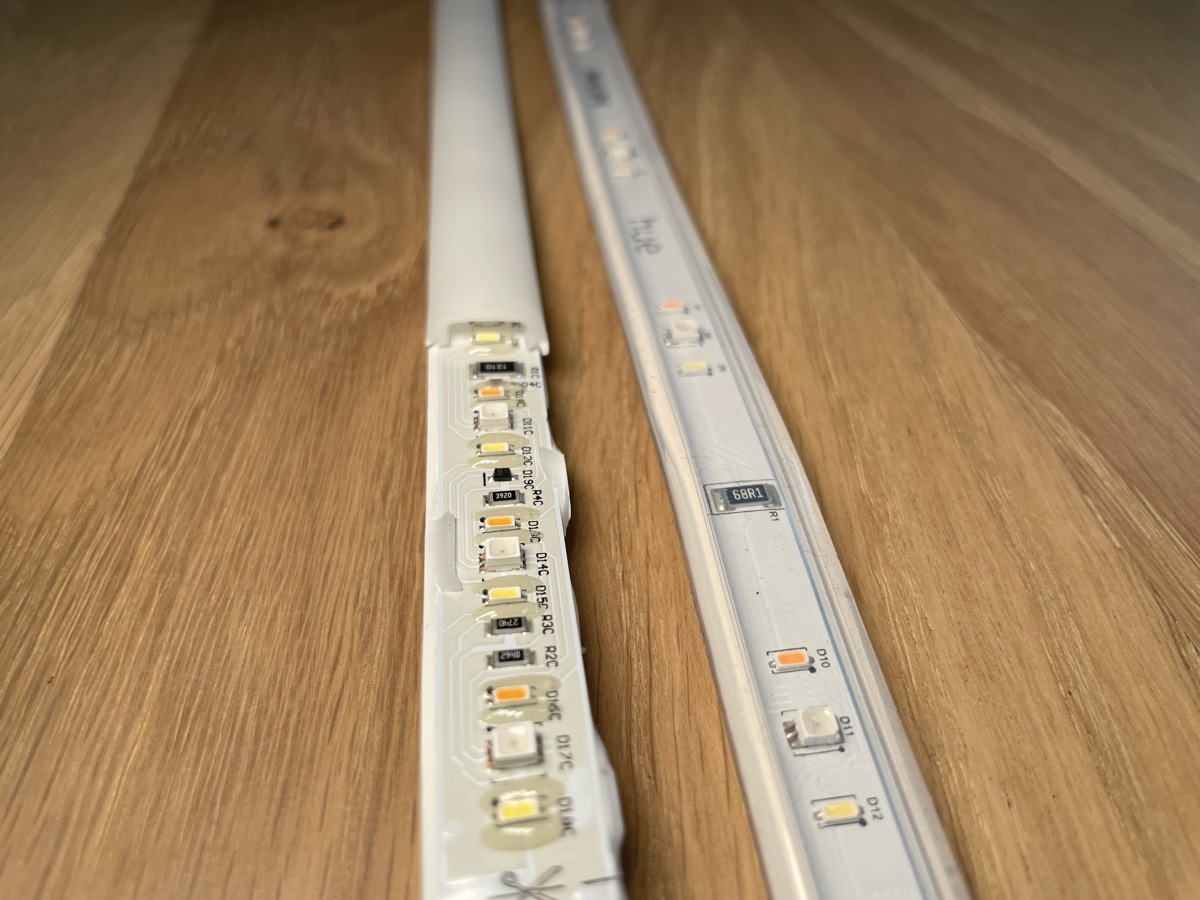
I wondered what the actual LED strip inside the milky silicone shell looks like and just had a look for you too. It is really impressive how many LEDs the manufacturer has placed on the new Ambiance Gradient Lightstrip – especially in comparison with the normal Lightstrip Plus, of course. But just take a look for yourself:
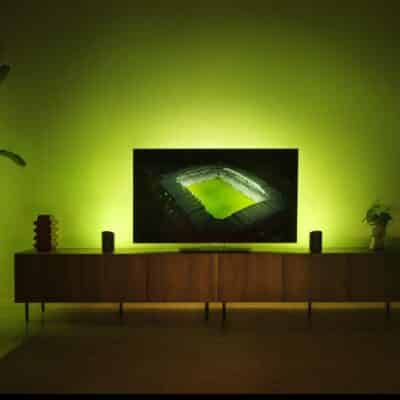
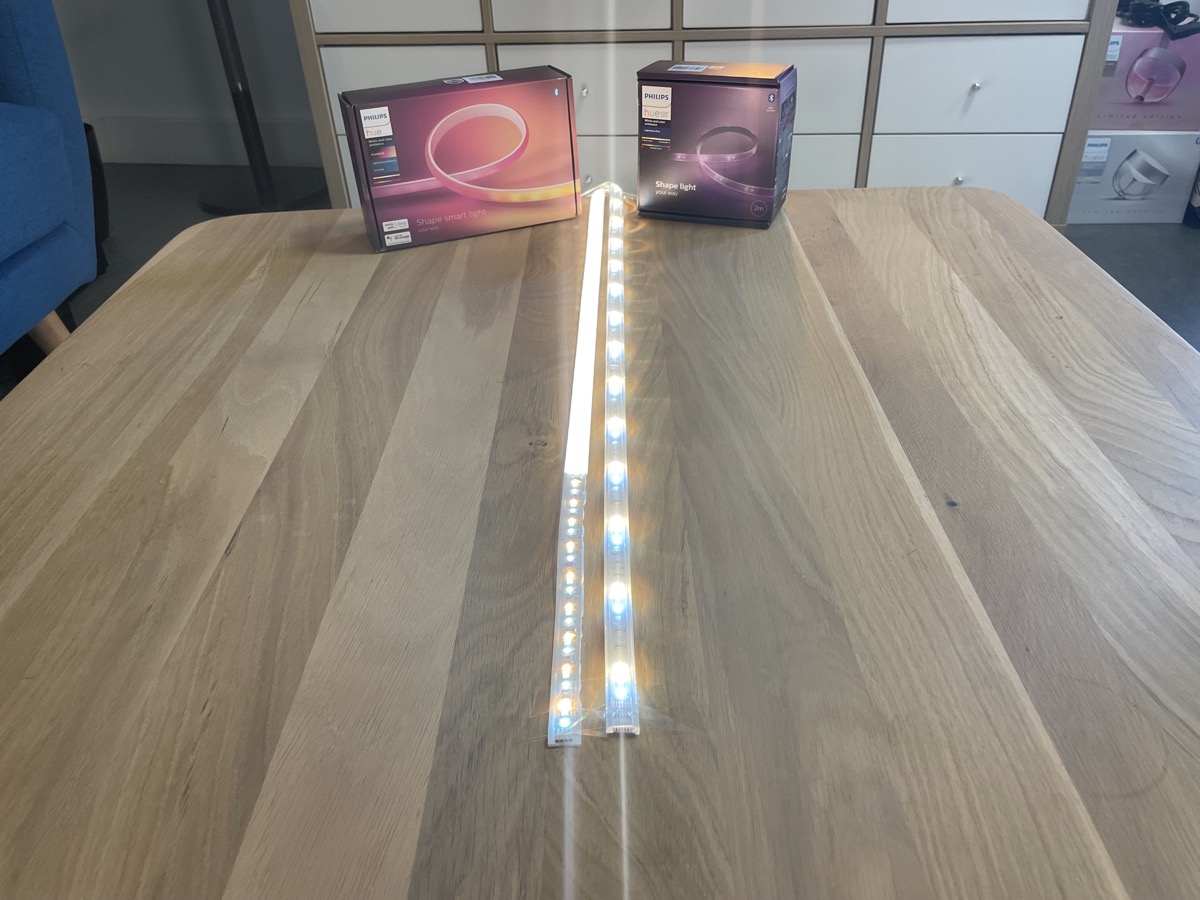
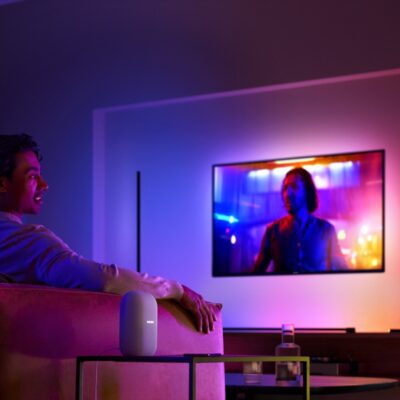
I have already explained in detail in my review what difference this makes in practice. If you don’t have time for that or just want to see it again, here is a direct comparison of the two light strips with the same setting:
Ambiance Gradient Lightstrip can be shortened in more places than specified
There was one thing I wondered about in my review, though: According to the small markings on the Ambiance Gradient Lightstrip, it should only be possible to shorten it every 25 centimetres. George Yianni, CTO at Signify and inventor of Philips Hue, had stated in a conversation with me shortly before that the new light strip could be shortened every 12.5 centimetres. Compared to the 33 centimetres of the “old” Lightstrip Plus, this would be a great improvement in flexibility.
And what can I tell you? The boss is right. There are indeed cut marks every 12.5 centimetres on the naked light strip:
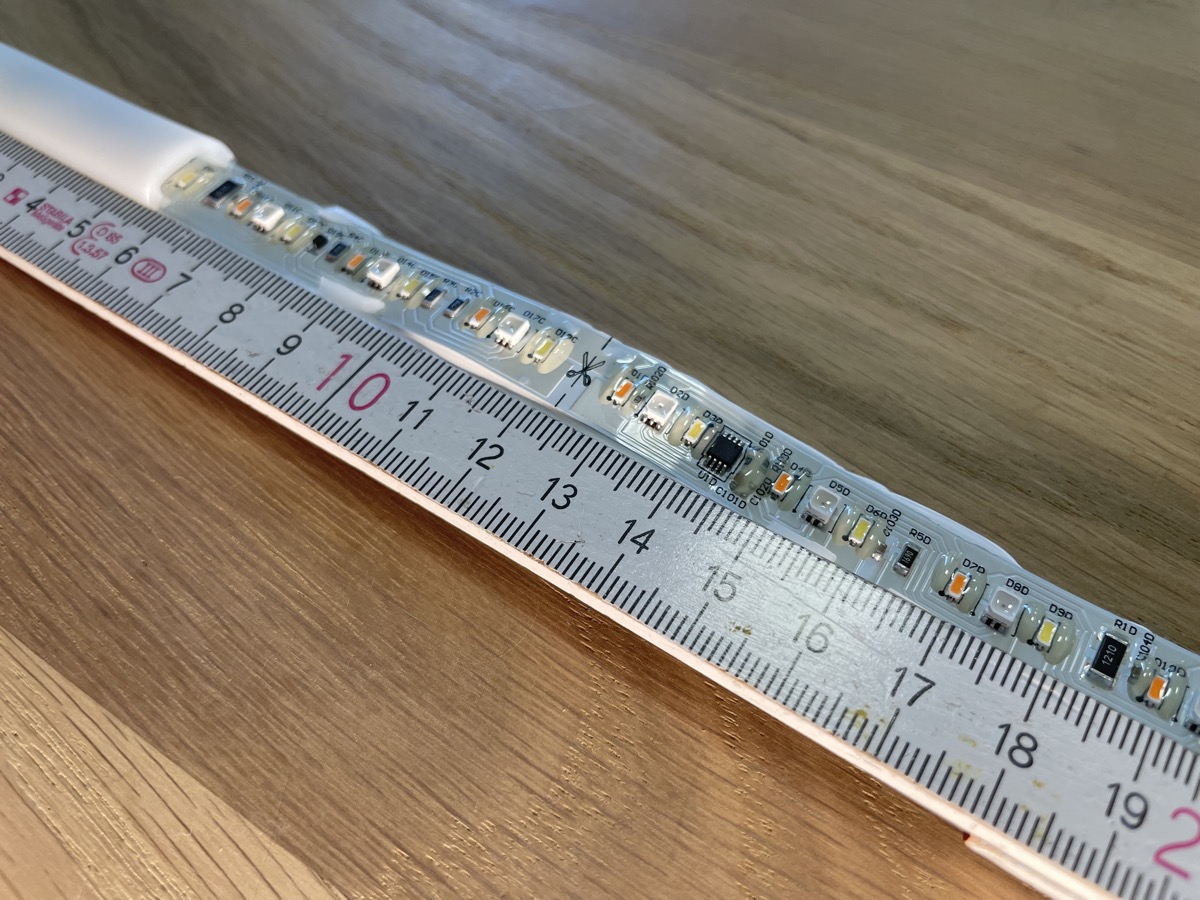
Now, for the life of me, I don’t understand what exactly went wrong with Philips Hue that the externally visible markings on the lightstrip were only placed at every second cutting point. Why? I have absolutely no explanation for this.

Philips Hue Ambiance Gradient Lightstrip
$179.99 / £139.99 / €159,99


I have just purchased some of these, and was wondering how best to do a 90 degree horizontal bend on these new strips?
There is not much empty gaps between LEDs that I can do the 2 pinches to get the angle, and there are no 90 degree connectors available.
Many Thanks & Regards
Hi, were you able to solve your problem? i am also interested in the solution!
The 12,5 cm cut does not enable extension. If you cut there it will be the end of you segment. It is the ideal cut if you have spare light strip and want to another 12,5 cm at the end of your X times 25cm (with a connector)
Do you know if it is possible to buy extesion cords for the gradiant strip?
I found some – but the spacing between the pins was wrong.
Hallo Fabian,
ich habe mir ein paar Gradient Light Strips gekauft und wollte diese eigentlich auf Schranklänge kürzen, bzw. 90° Kurven einbauen (ohne knicken, aber mit Litcessory-Zwischenstücken).
Nun habe ich den ersten gekürzt und dabei festgestellt, dass ich den Rest gar nicht mehr verwenden kann. Eigentlich wollte ich die Reste an einen Strip hängen und diesen mit allen Resten verlängern. Es wirkt so, als würde das nicht gehen.
Man kauft sich also für 159,90 Euro einen Strip, je cm ca. 0,80 Euro; kürzt den Strip auf 1,50m und produziert somit 50cm Müll im Wert von 40 Euro und kann das dann entsorgen. Ist das wirklich die Lösung von Philips?
Hast Du einen Trick, um die Reste noch benutzen zu können?
Viele Grüße
Nikolai