


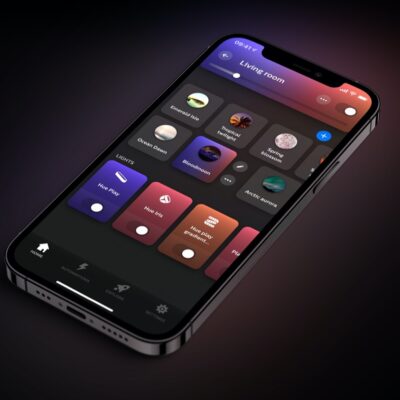


While you previously had to take a diversion via the Siri shortcuts and had to make noticeable compromises in terms of design, native widgets have finally been available in the Philips Hue app since the update to version 5.14. This allows you to activate scenes from the home screen or lock screen and switch entire rooms or zones on and off.
If you have already familiarised yourself with the topic, then setting up the widgets for Philips Hue will probably not be difficult. However, if you are new to widgets, I have created a small step-by-step guide for you. That way, nothing should go wrong.
Set up Philips Hue widgets on the home screen
Firstly, you should make sure that the Philips Hue app is up to date. Version 5.14 has been available to download from the App Store since yesterday. After the update, press and hold your finger on the home screen of your iPhone or iPad until the icons start to wiggle. At this point, a small plus symbol will appear in the top left-hand corner, which you need to tap on. This will take you to the widgets menu.
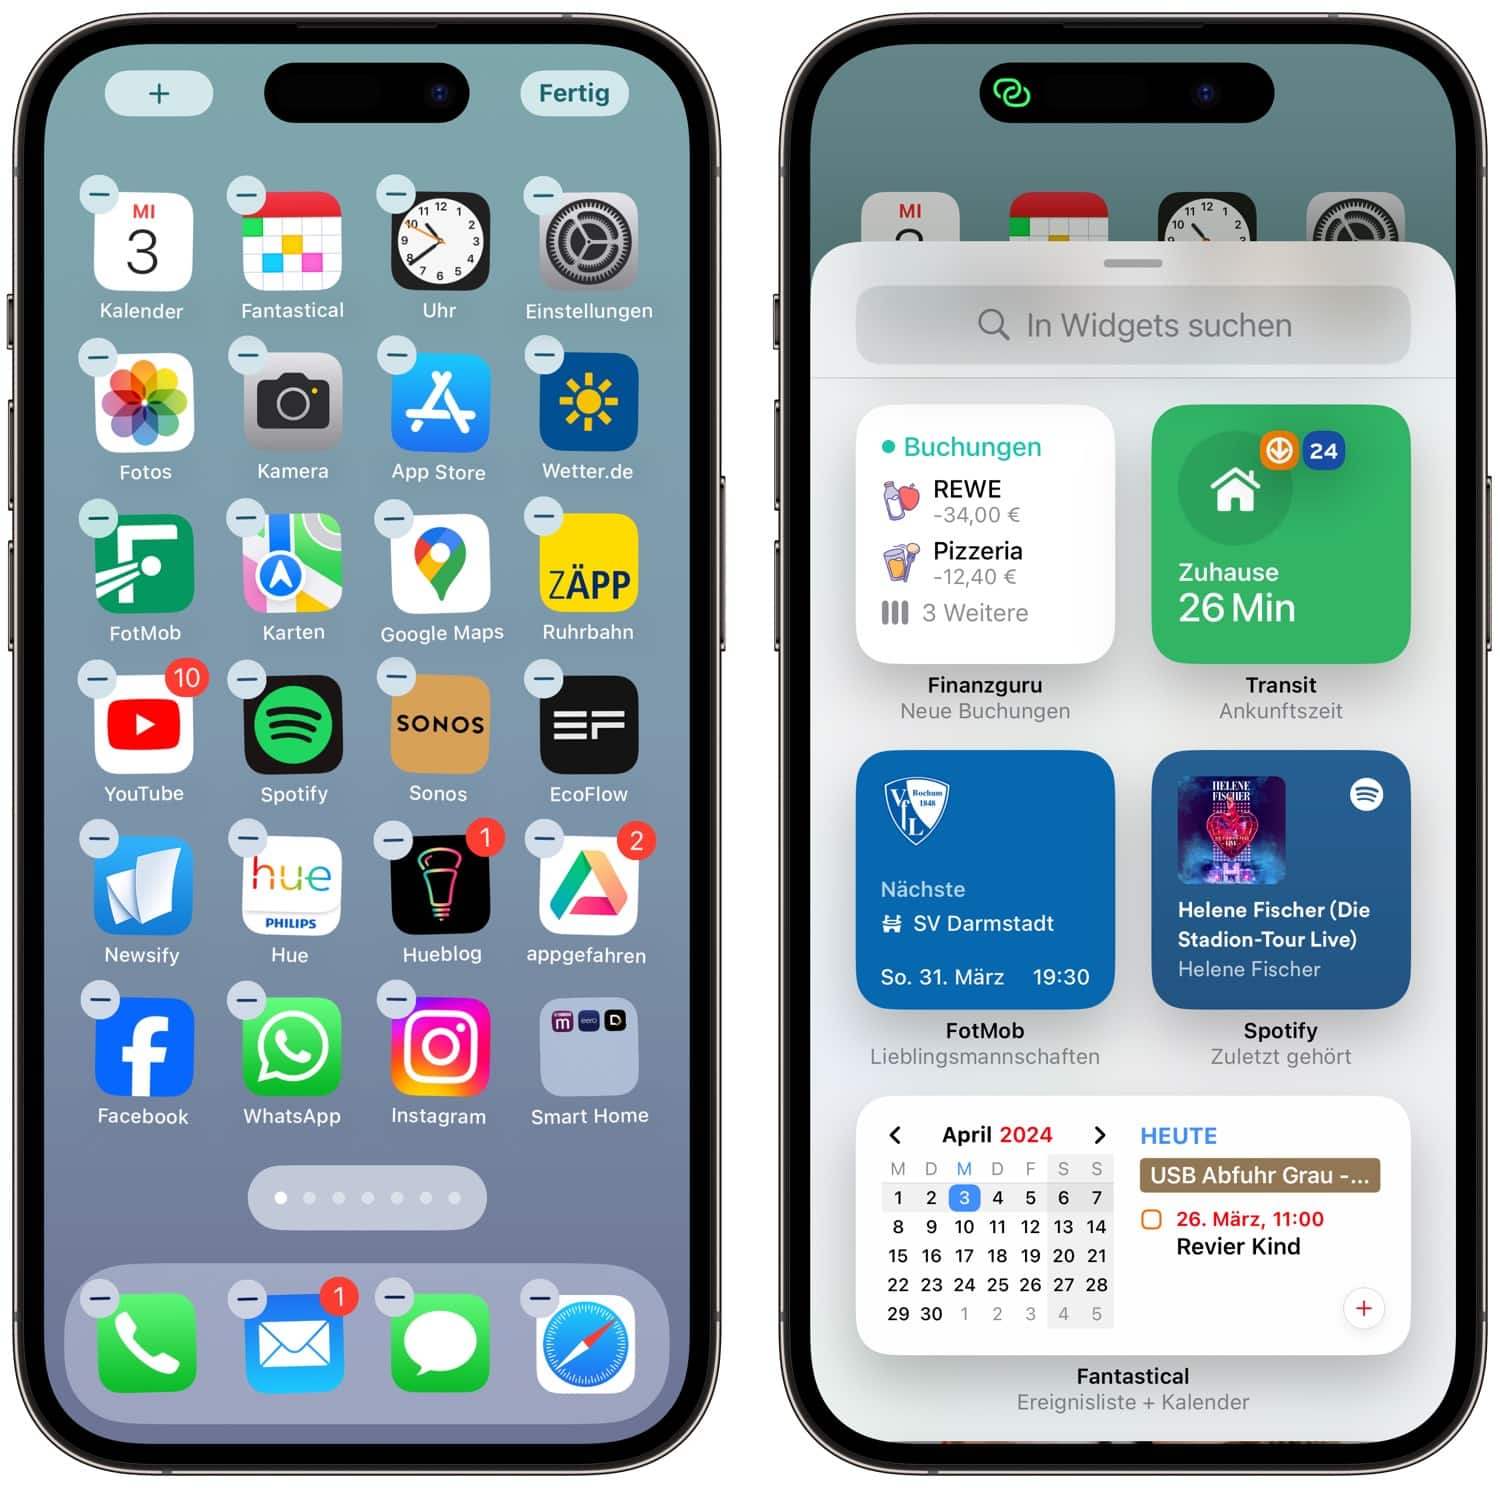
In the widgets menu, you can either search for the Hue widget manually or simply type “Hue” into the search field. If the widget is not displayed immediately after updating the app, please restart your iPhone or iPad and repeat the first steps. In the next step, you can choose between three sizes. The Hue widget can replace 2×2, 4×2 or 2×4 icons on your home screen.
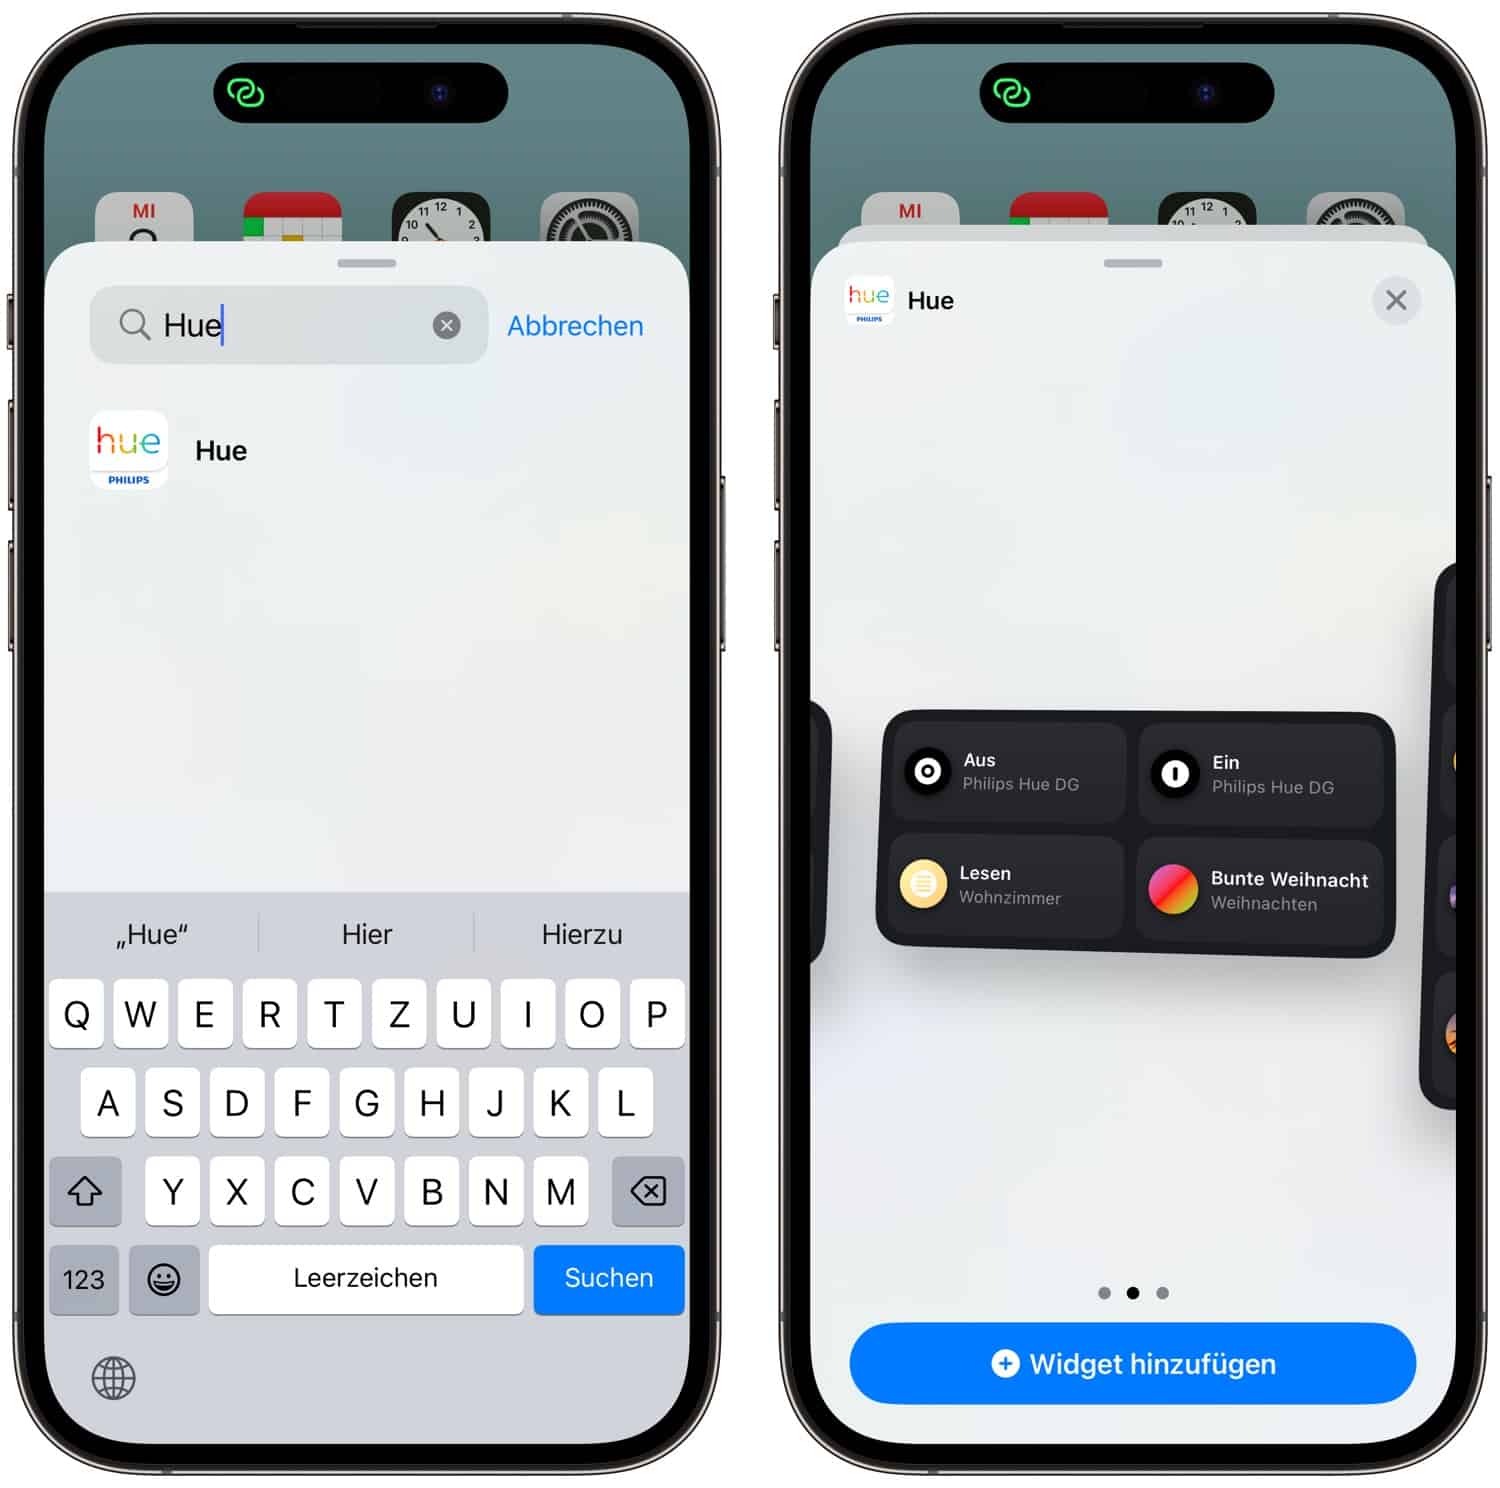
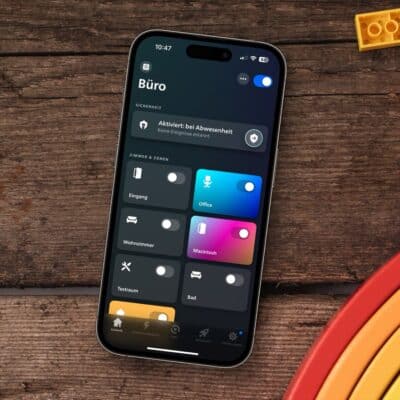
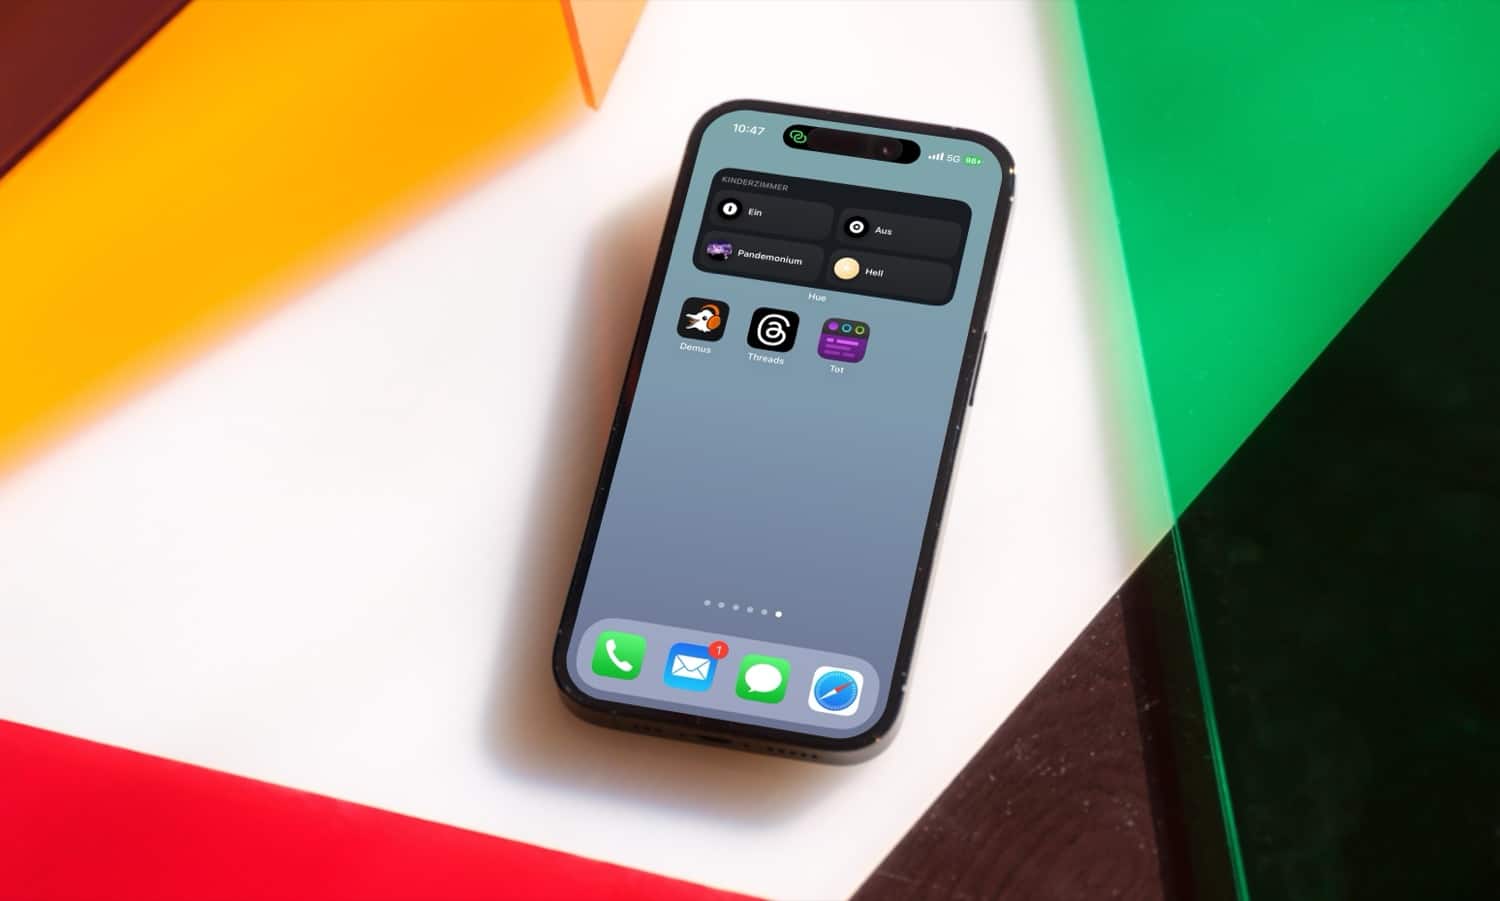
In this example, I have opted for the medium-sized widget, which you can place freely on one of your home screens just like an app after selecting it. Then tap on Done in the top right-hand corner – at this point, however, the widget is still empty.

Now press and hold your finger on the empty widget to open the context menu. There, tap on “Edit widget” to access the most important view.
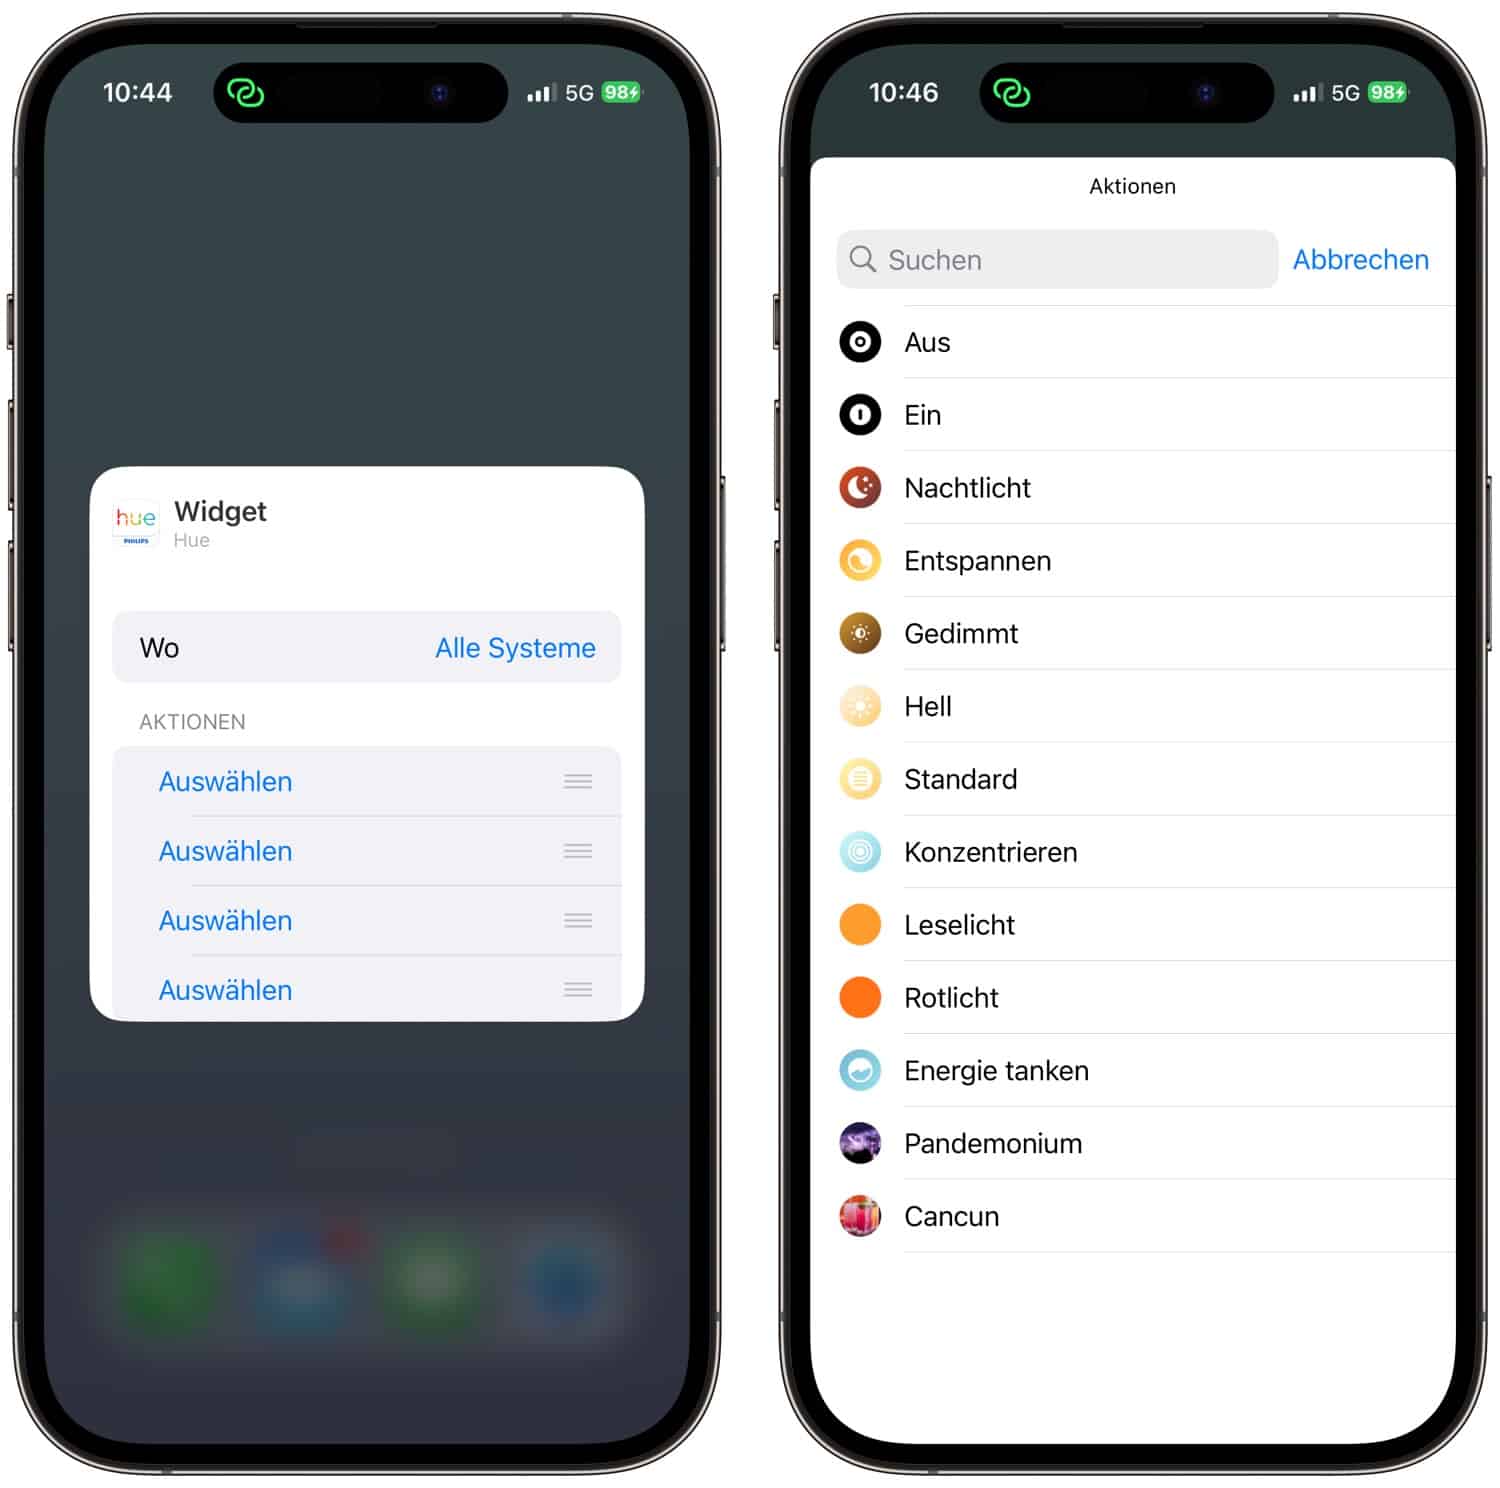
You can now specify which bridge or room you want to select scenes from. Rooms from different bridges can also be controlled in a widget. You can then assign the free spaces in the widget.
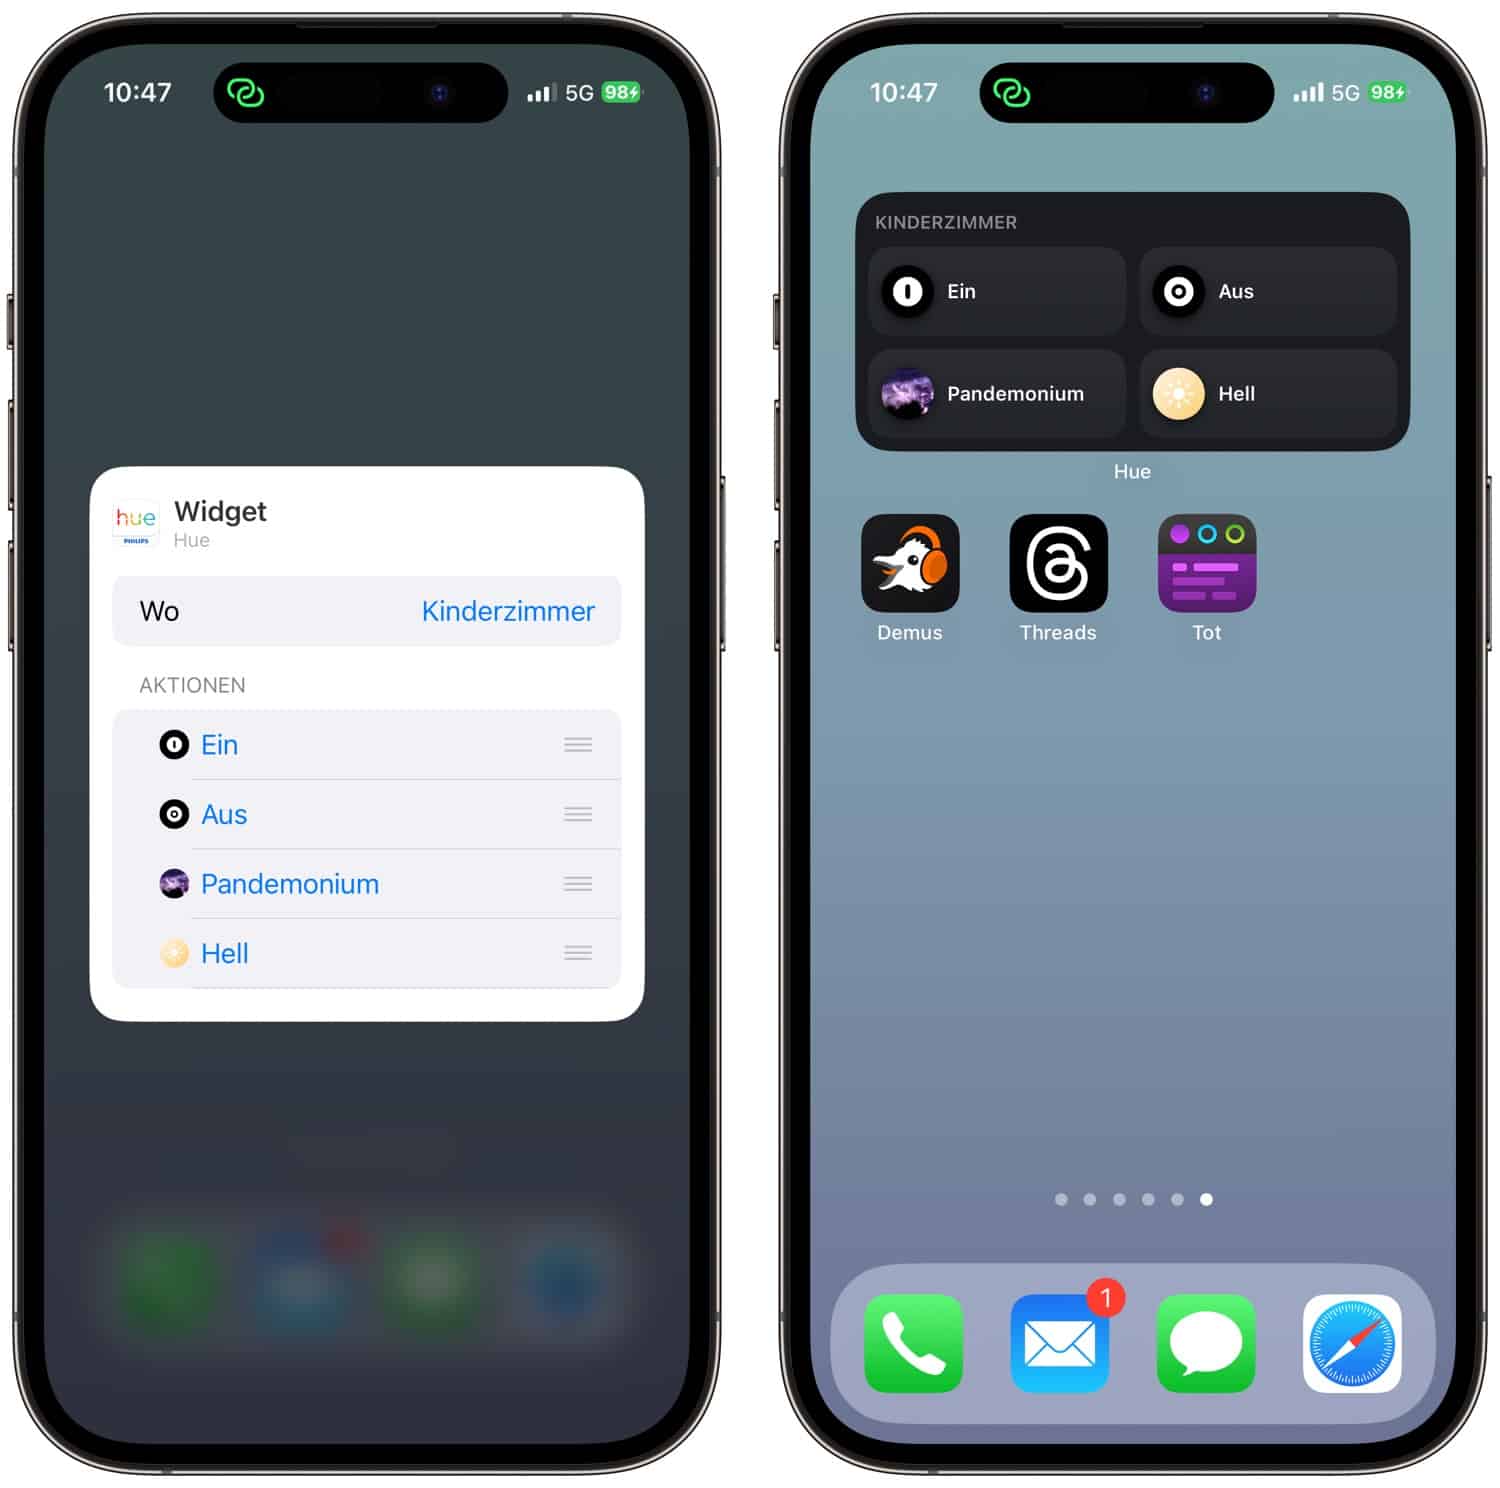
And that’s all there is to it. Once you have defined all the actions, you can close the view and the widget on the home screen is ready for use.
Setting up Philips Hue widgets on the lock screen
I would also like to provide you with suitable instructions for the lock screen. Firstly, unlock the iPhone without leaving the lock screen. Instead, press your finger on the screen until you can edit the lock screen. Then tap on Customise and select the lock screen.
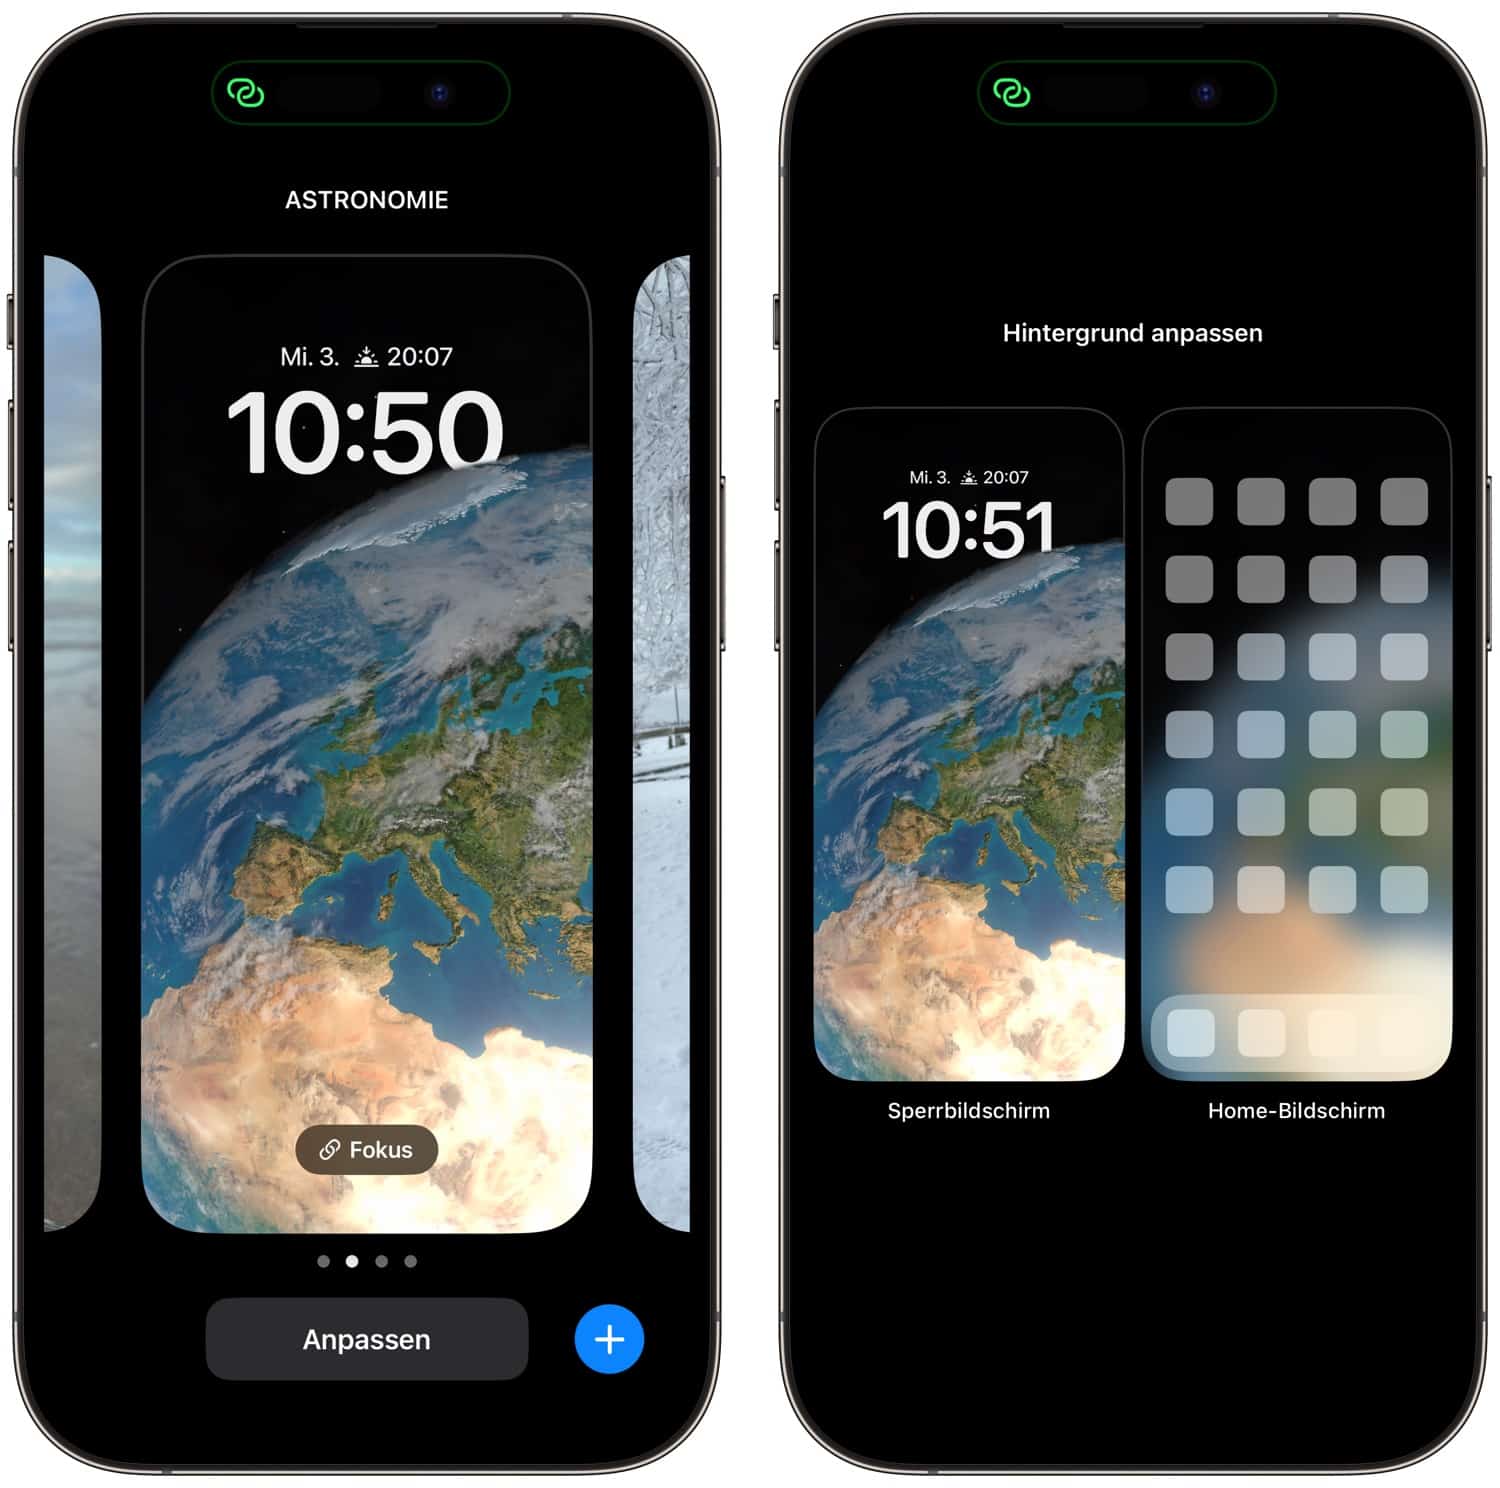
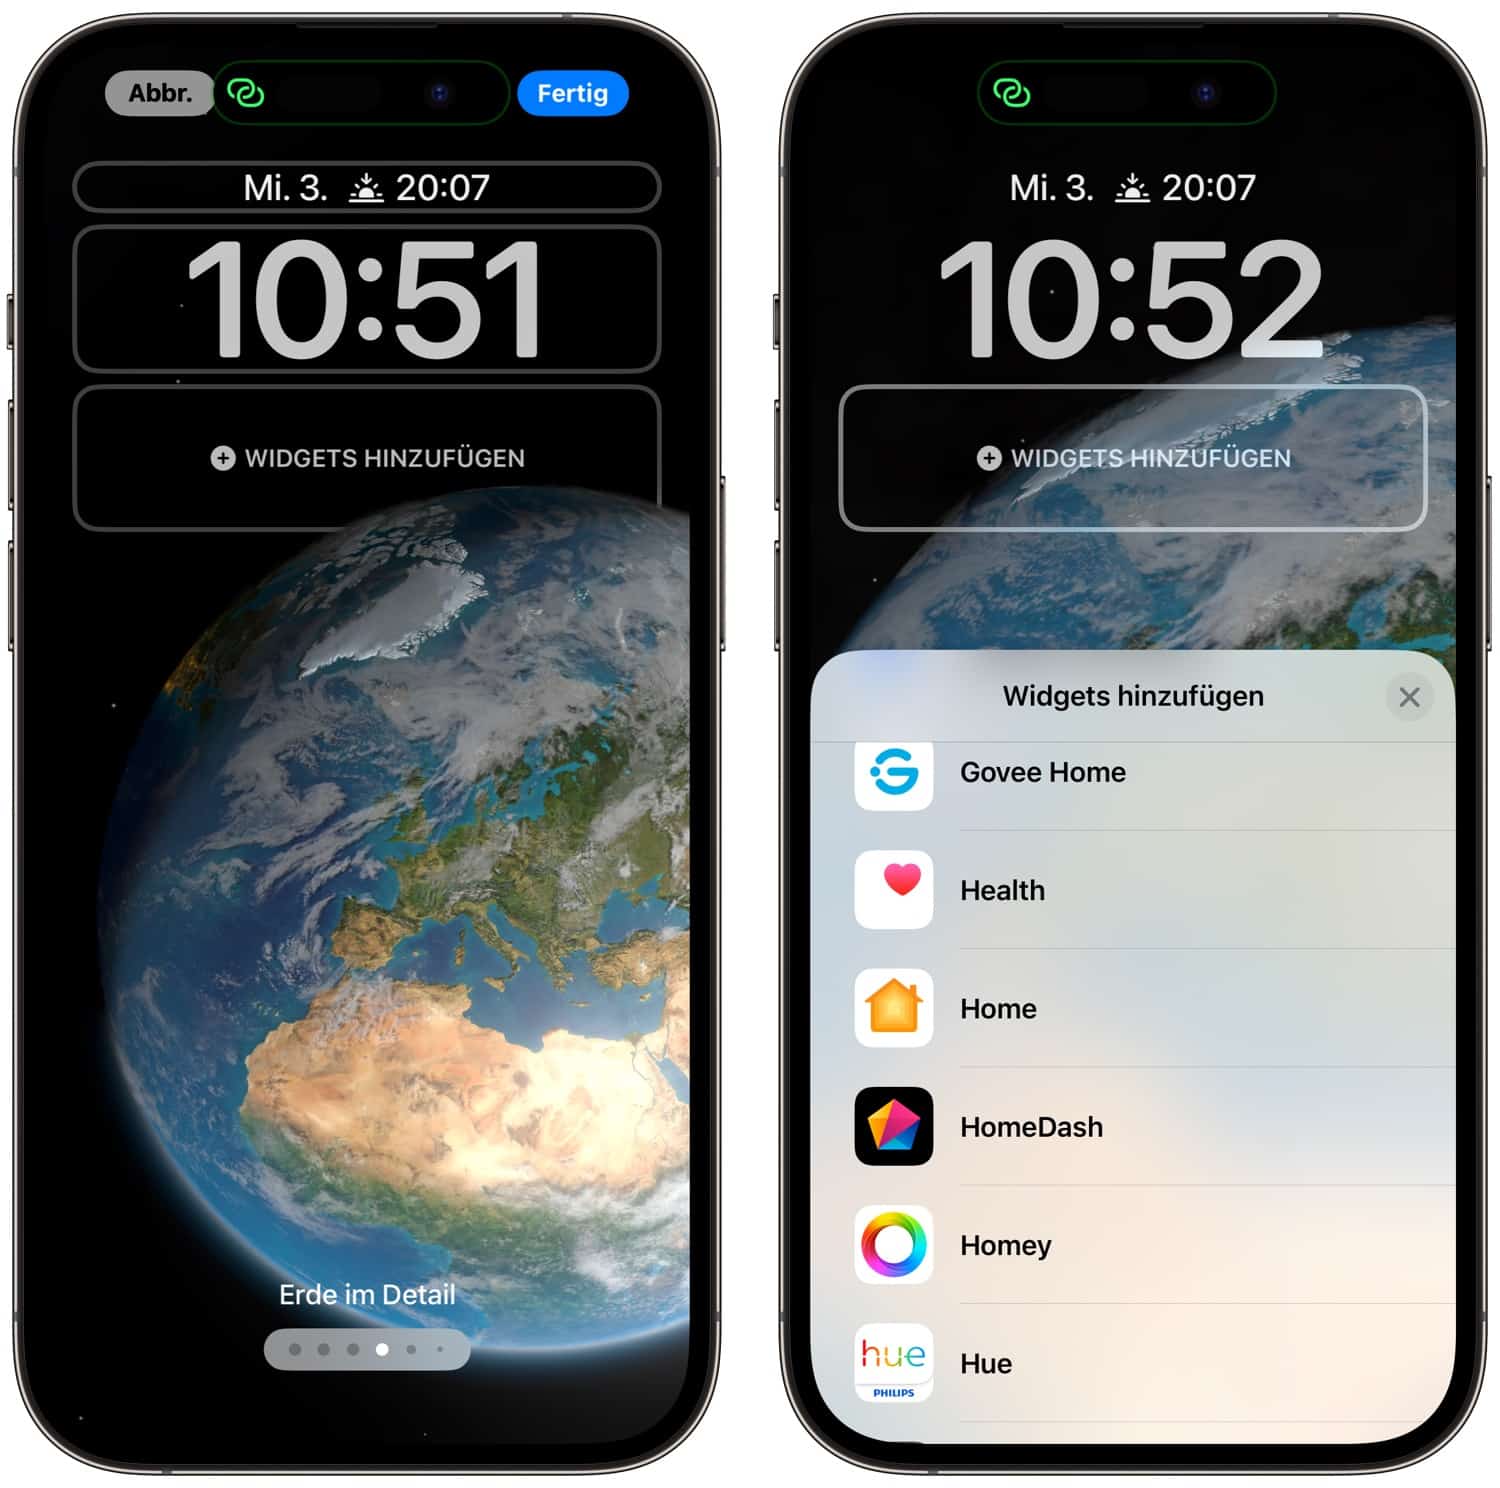
In the next step, you can tap on “Add widgets” directly below the time. In the following list, search for “Hue”.
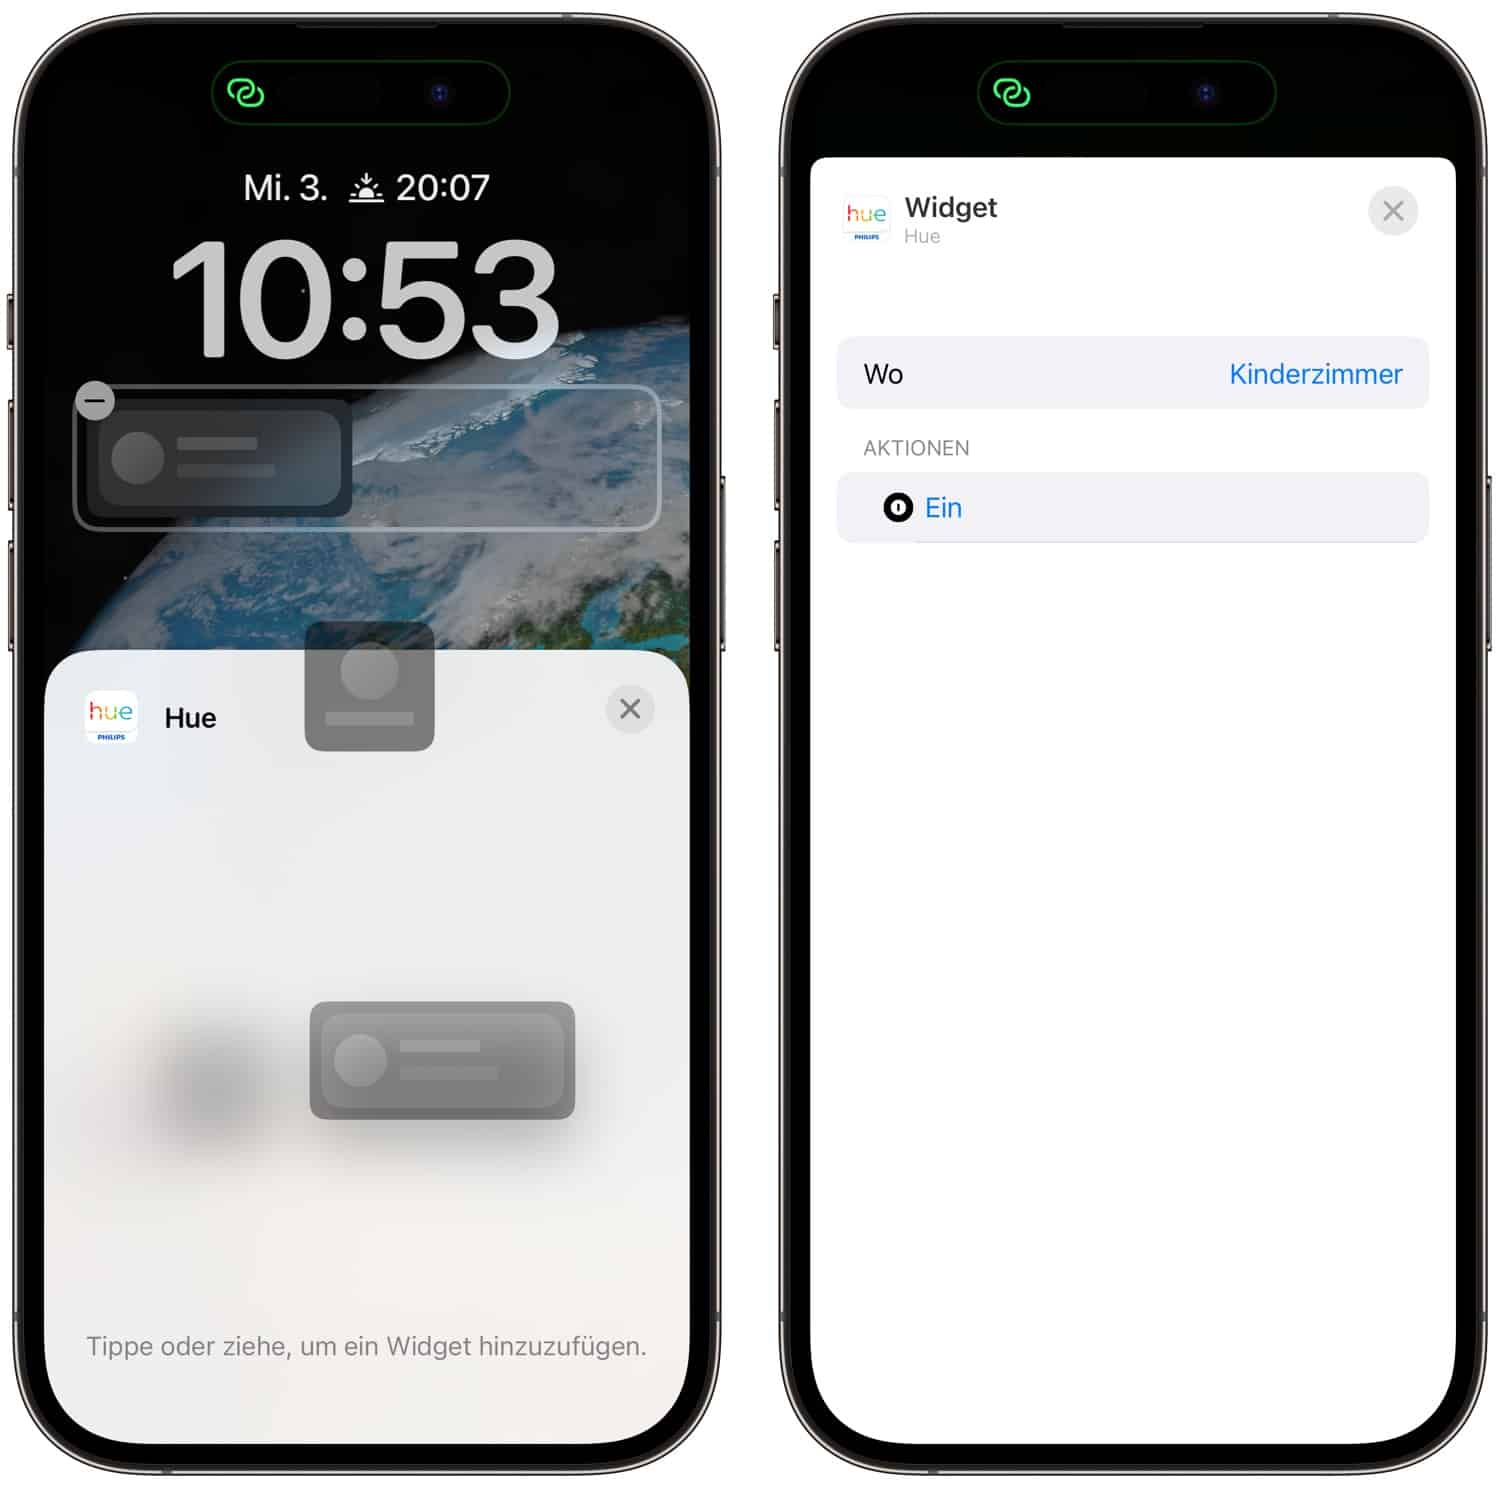
Two different widget sizes are available on the lock screen, which you can simply drag from below into the free area. Then tap on the empty widget and you can fill it with an action.
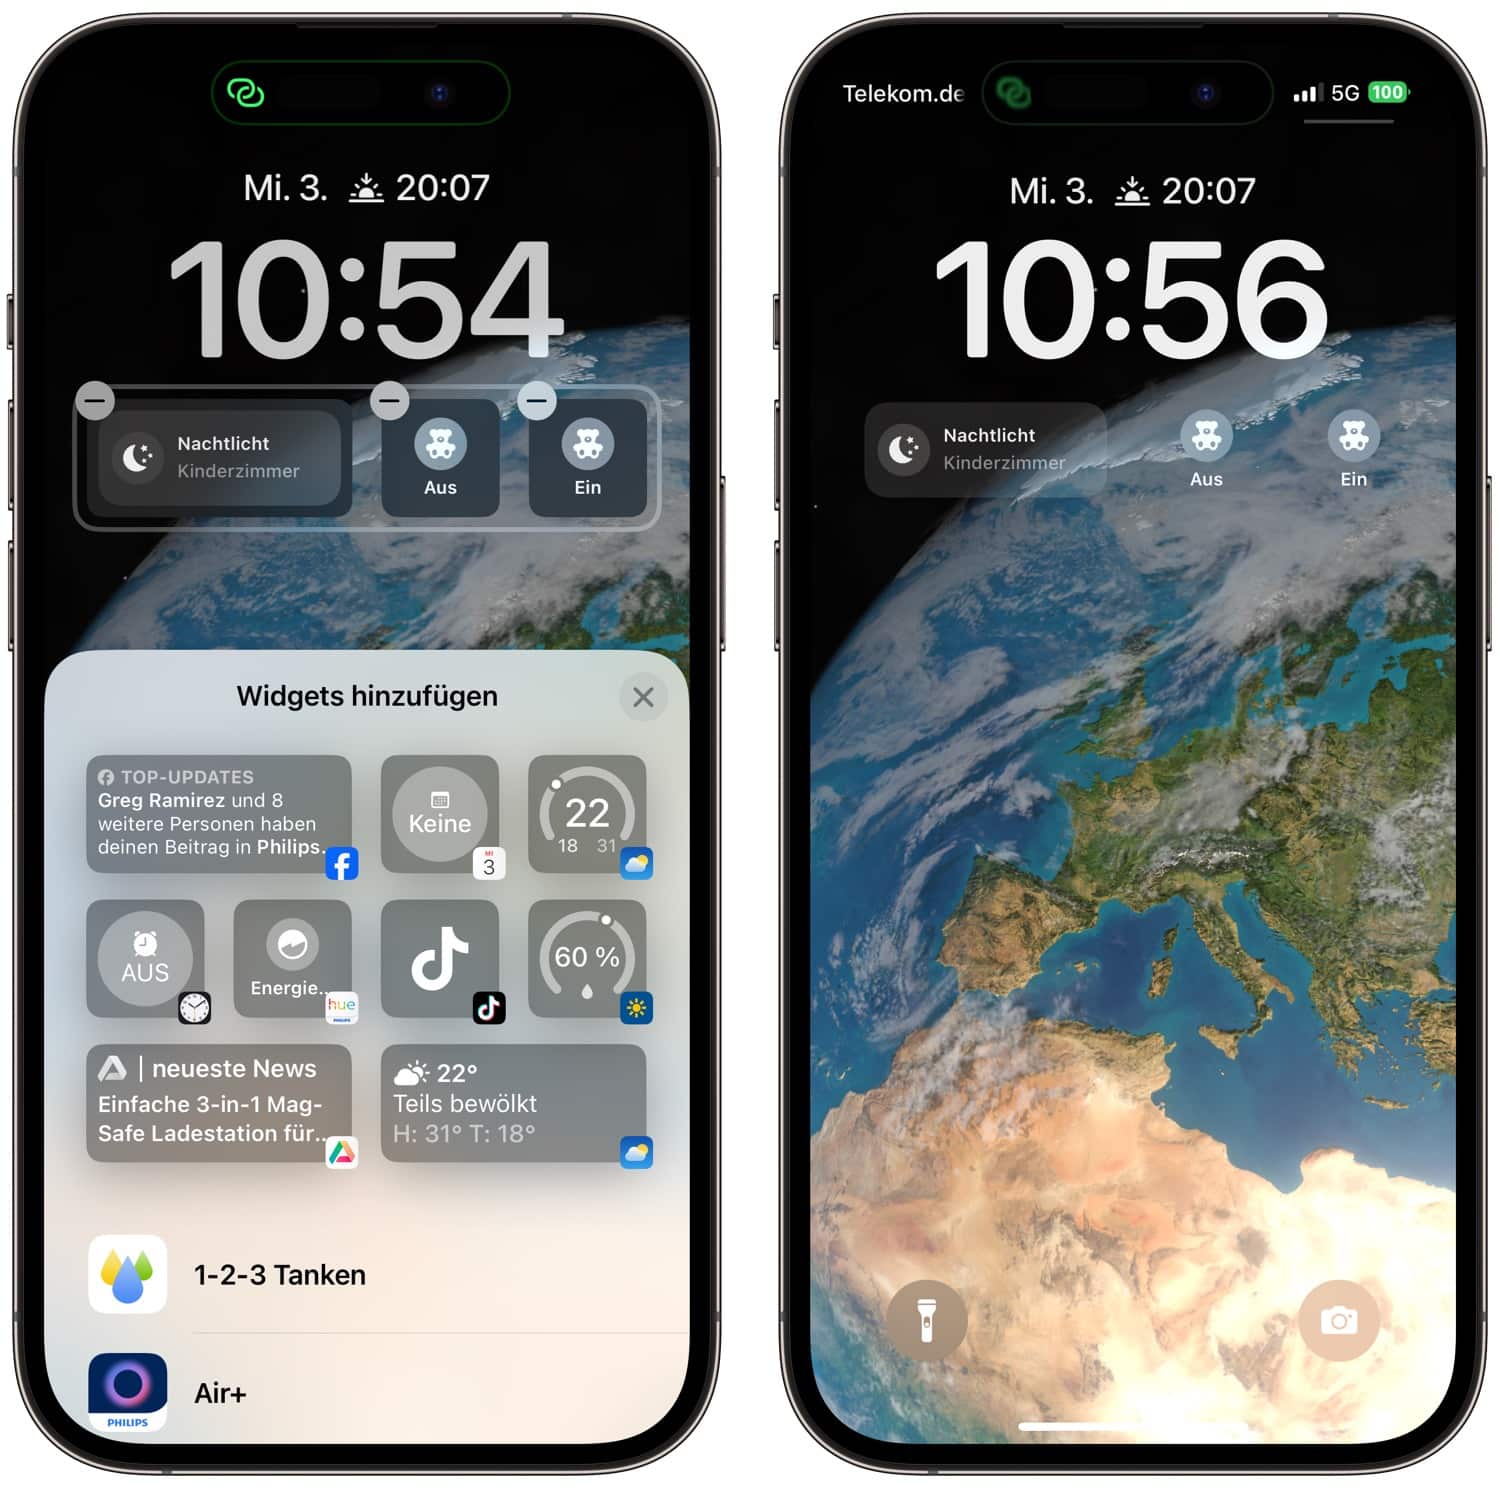
Then quickly tap on Done and your lockscreen is already customised with widgets. On iPhones with an always-on display, these are of course also visible when locked.

iPhone 8+, iOS 16.7.8, Hue 5.19.1
No Hue available from widgets screen.
Hey, you need at least iOS 17 for interactive widgets.
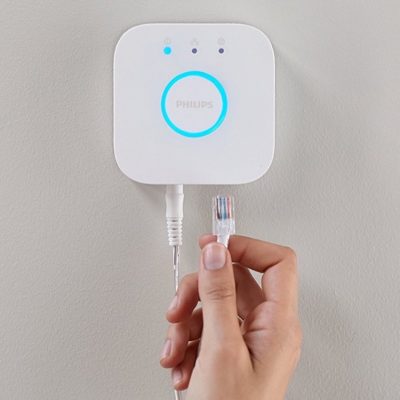
I bought the Philips Hue Play Bars. Have all the latests versions on iPhone and hue-app. Nothing happens when pushin Actions. It is empty. Nothing happens when I search. I guess you need the Philips Hue Hub to make it work? I dont have that.
Cheers
Sorry, meant Bridge not Hub 🙈