


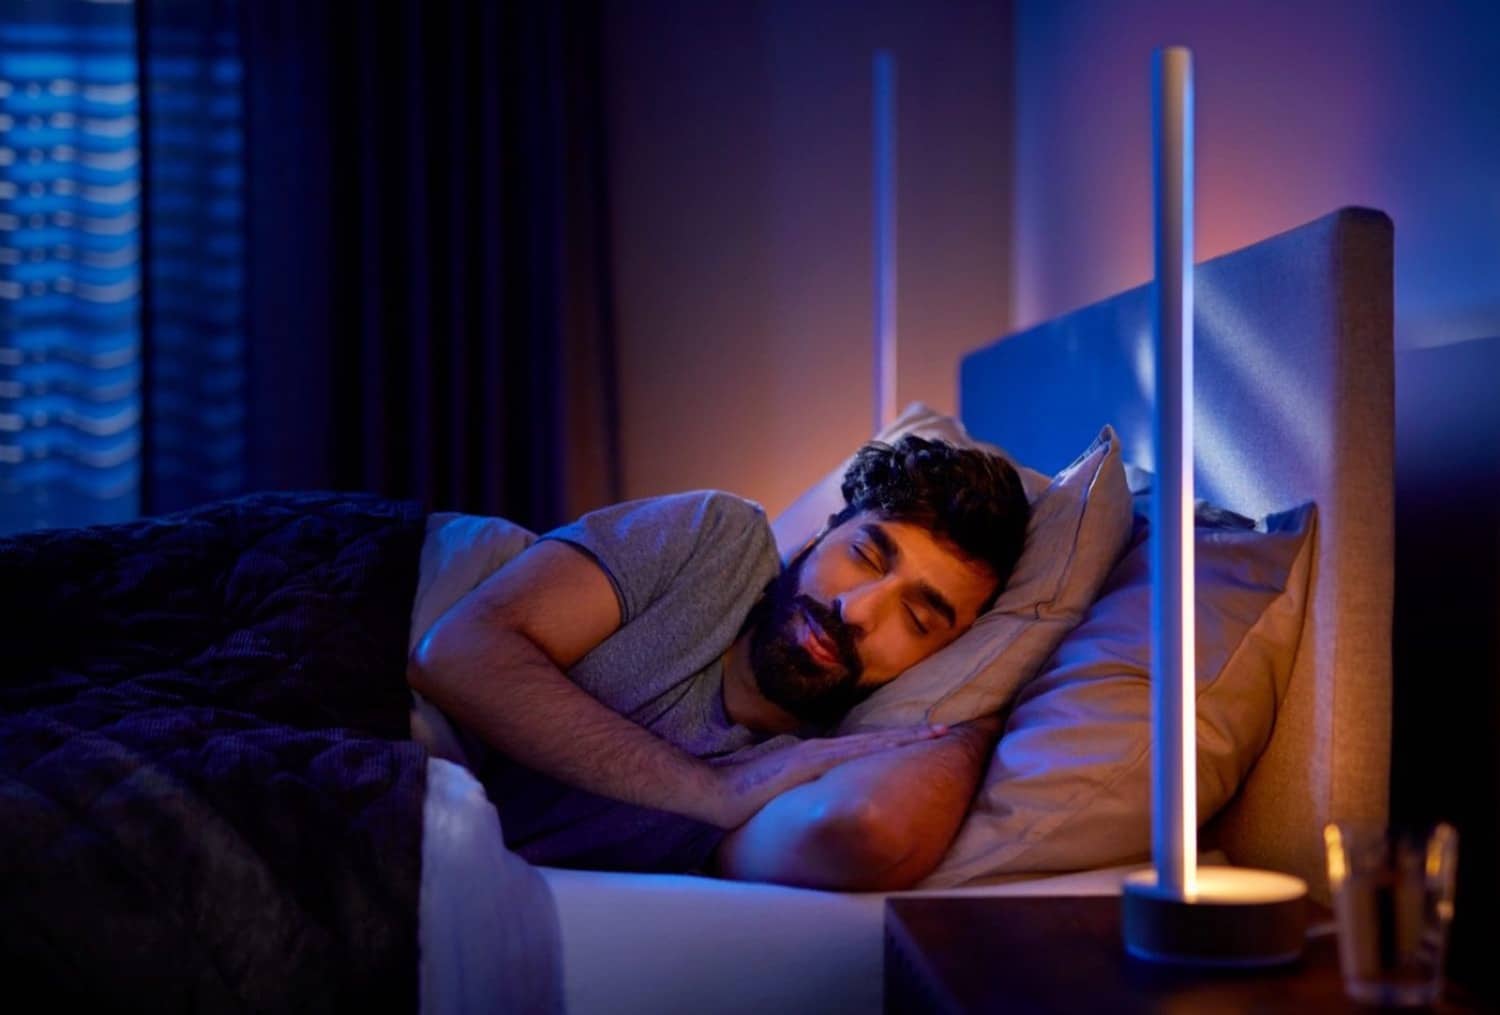
Yesterday I already drew your attention to the latest update of the Philips Hue app. Version 5.21 brings some new features, including the ability to start sleep automation at the touch of a button on a Hue switch. But how exactly does this work and what do you need to bear in mind?
First of all: Not all switches are supported yet. You need a Hue Tap Dial Switch, a wall switch module or a Hue Tap or Friends of Hue switch. You cannot yet start sleep automation with a Hue Dimmer Switch or Hue Smart Button. You’ll have to wait for one of the next updates.
Create Go to Sleep Automation in the Hue app
Before we take care of the switch, you first need to create a sleep automation if you haven’t already done so. To do this, tap on the plus icon in the top right-hand corner of the Automations section and then select “Go to sleep”. Then simply follow the steps and select, for example, which room and which lamps should be part of the automation.

You can also customise the automation to your own requirements during the configuration process. The lamps can simply dim slowly, or you can select the sunset animation, which simulates a sunset. You can also decide whether the light should be switched off completely or whether a night light should remain active.
Link the automation to a switch
Once the automation has been created, you still need to link it to a switch. To do this, open the options of a supported switch in the settings; in my case, I opted for a Hue Tap Dial Switch.
For the desired button, simply switch from light control to automation mode and then select the previously created sleep automation. By default, the automation is then activated with a long press of the button and can be stopped by holding down the button.
