


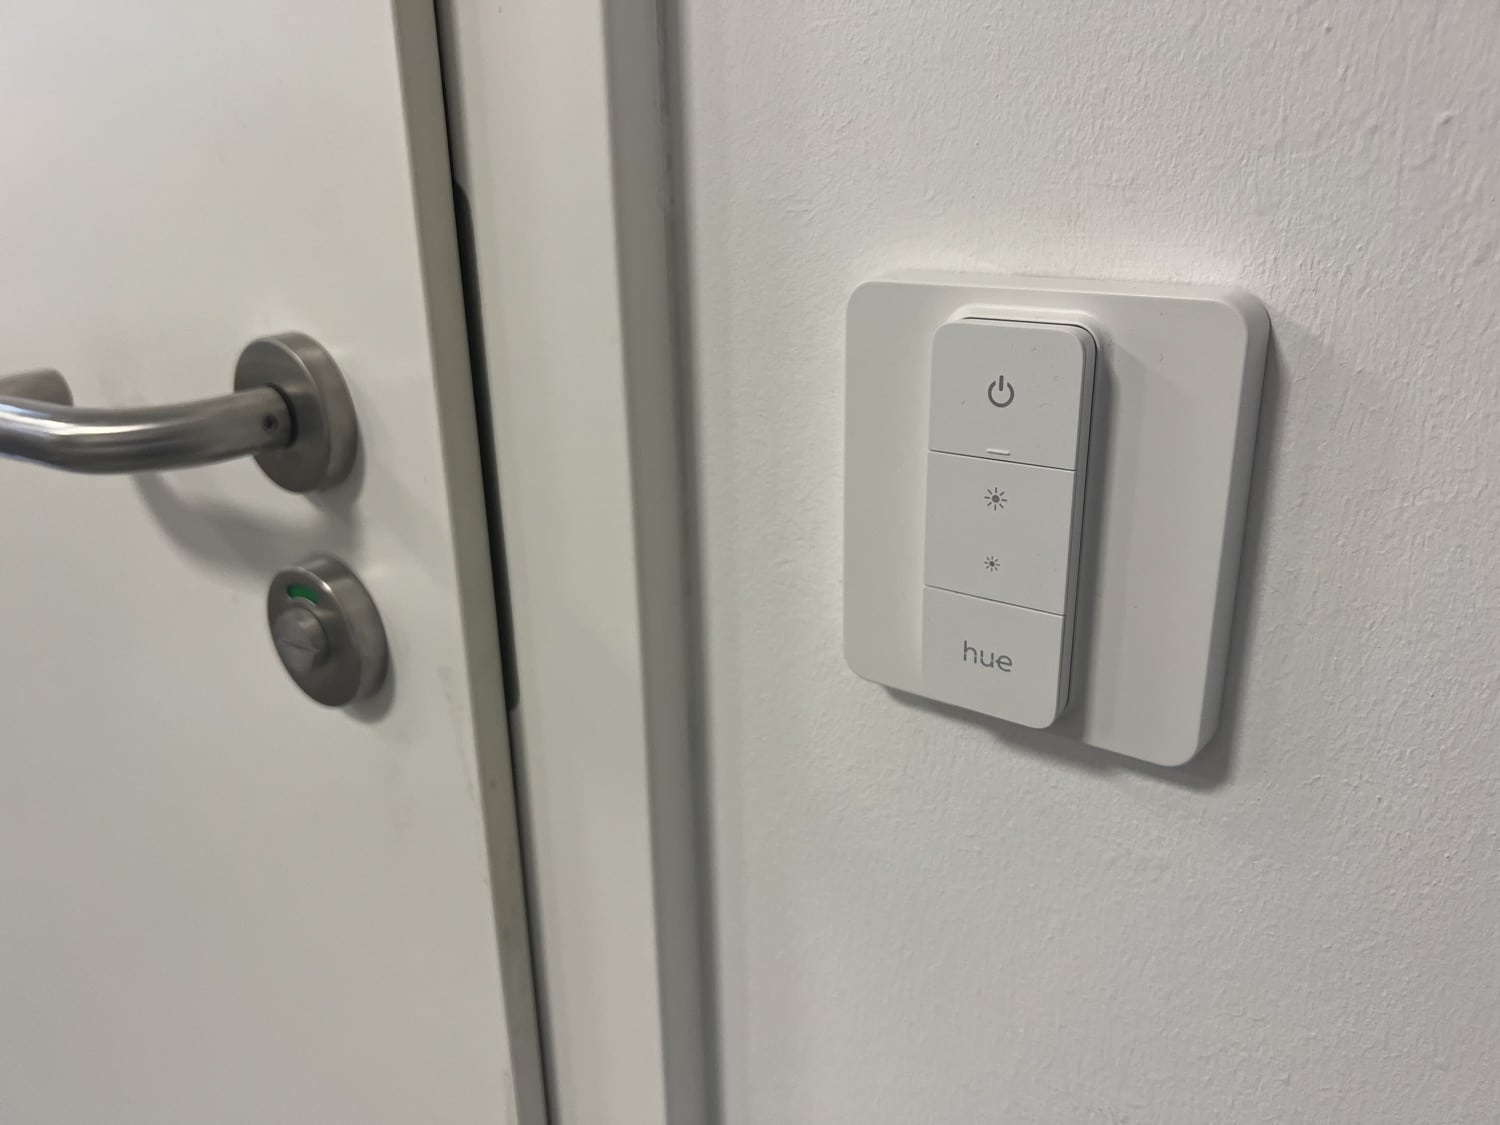
In the meantime, Philips Hue does offer some options to take a classic light switch out of action. And I don’t just mean the Philips Hue wall switch module, but also the fact that the mounting plates of the new dimmer switch and also the Smart Button are large enough to be mounted on a flush-mounted box. The problem: in this case, the classic light switch must be completely removed.
A solution to this problem is promised by the British retailer Iyoki, which also sells its products on Amazon. A cover is offered that is compatible with the Philips Hue dimmer switch of the second generation. Be careful when buying: a distinction is made between Standard and Pro, whereby Pro has a somewhat smaller depth. Here, the frame and rocker of the light switch must be removed so that the cover fits. In the end, the overall appearance is somewhat slimmer and I can therefore recommend the Pro variant.
Before we get to the well thought-out installation, let’s take a quick look at the price. A single cover from Iyoki costs 7.99 euros, the double pack 13.99 euros. Unfortunately, the Pro version for the dimmer switch is currently only available in a double pack for 13.99 euros. My order, worth a total of 15.98 euros, was shipped from the UK and briefly got stuck in customs, but after I sent the invoice, the package was delivered without any further costs – that’s just a little info for you.
How to install the cover frame for the dimmer switch
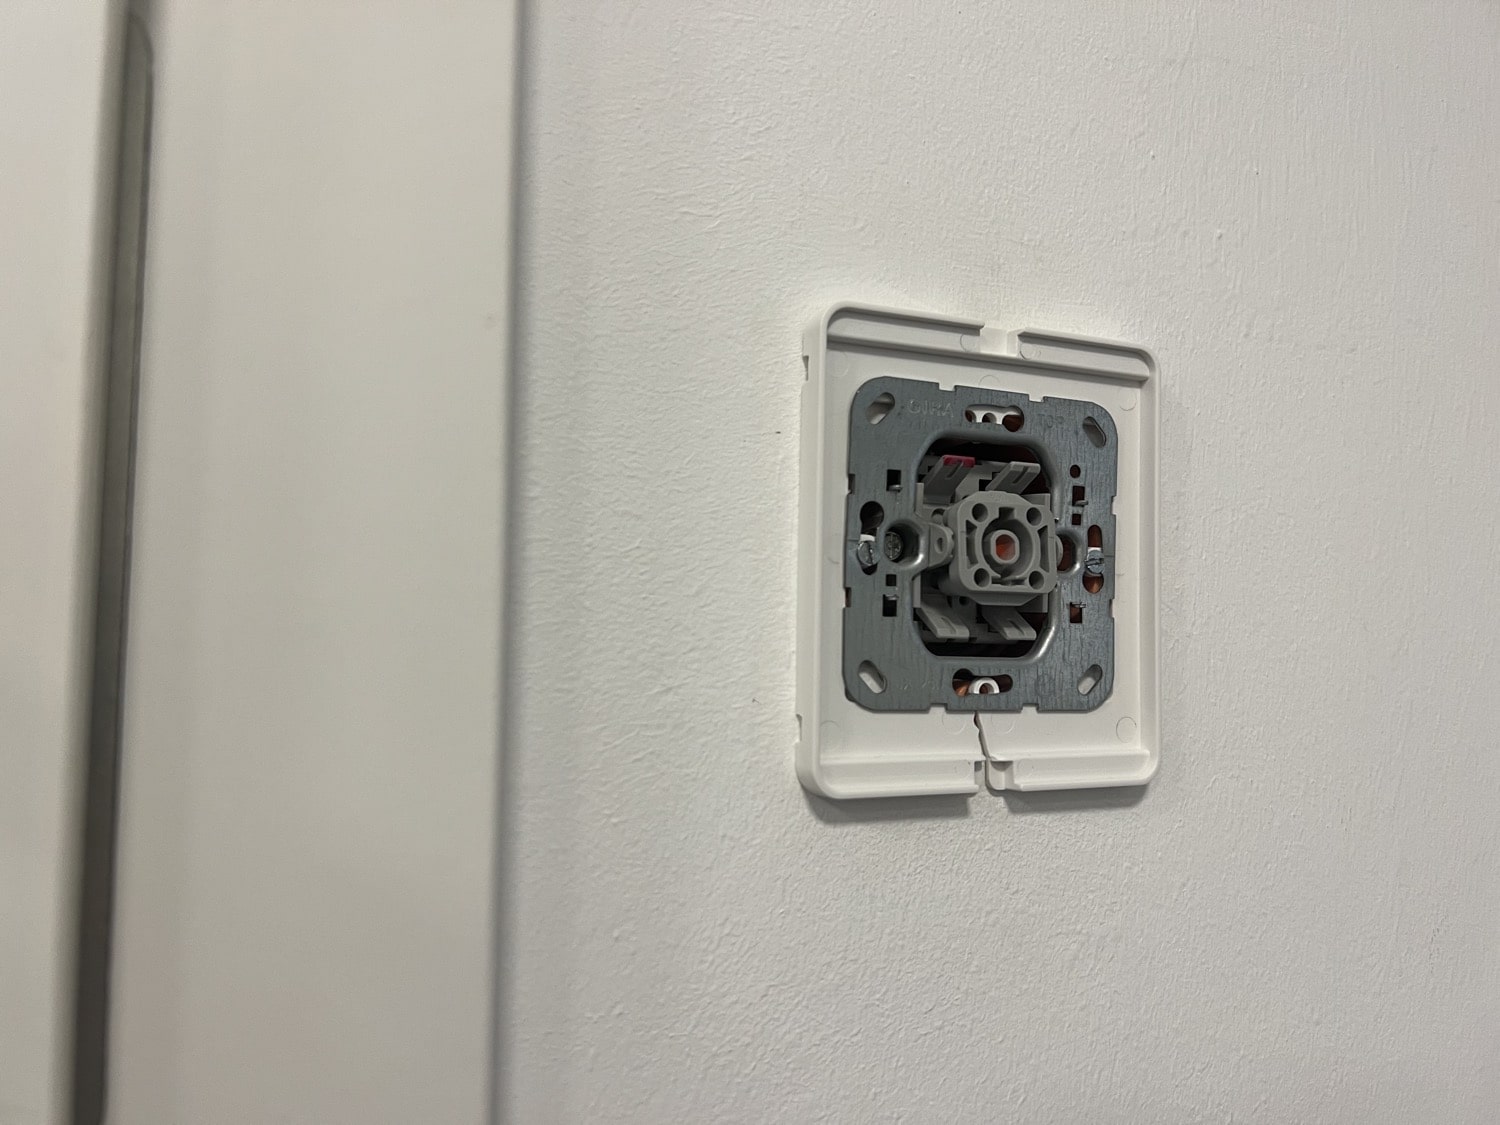
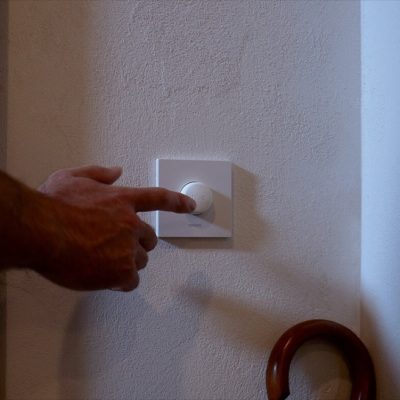
For installation, you should first deactivate the fuse of the light switch, just to be on the safe side. Then remove the rocker and the plastic frame, take the light switch out of the box and pull it out a bit. The mounting plate of the Iyoki cover has a small opening and can thus be placed behind the light switch without having to disconnect the cables. This also ensures that the frame is as close to the wall as possible.
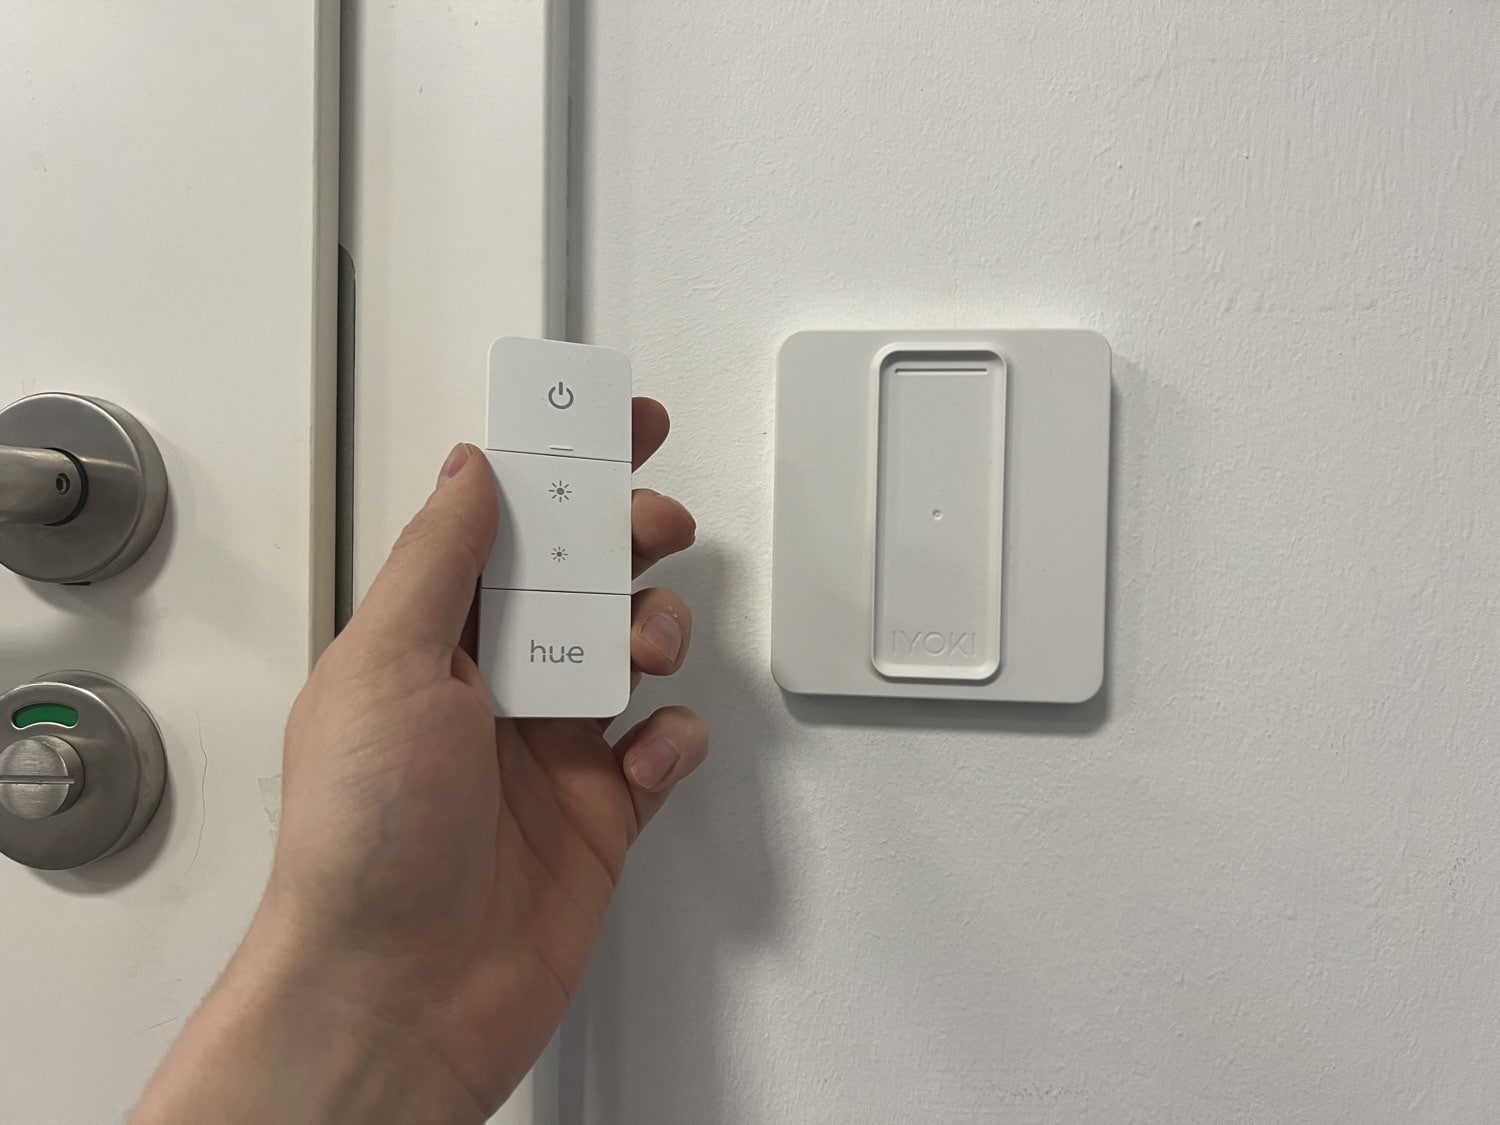
Afterwards, you simply screw the light switch back on and put the cover on. This has a magnet so that the dimmer switch can be easily removed.
The advantage of this solution: the entire cover can be easily removed and the classic light switch can still be operated. For one or the other of us who still wants to switch off the power to their ceiling lighting just in case, or who doesn’t want to fiddle with the electrical installation, this is certainly a great solution.
Important to know: It is not a 3D print, the workmanship is really good considering the price. In my opinion, the colour tone of the dimmer switch is not 100% accurate, but it is really very close. That’s why I give it a thumbs up.

That´s great, thanks for sharing! On their website they also sell a “2-gang” cover for two dimmer switches.