


I face a problem on my terrace: the wall connection for the permanently installed lamp is located in one of the two corners. Not surprisingly the other half of the terrace is poorly illuminated. Now I have tackled this problem – with the new Philips Hue Impress low-voltage wall light and in cooperation with Lampenwelt.de, who have kindly provided me with the products for this little field report.
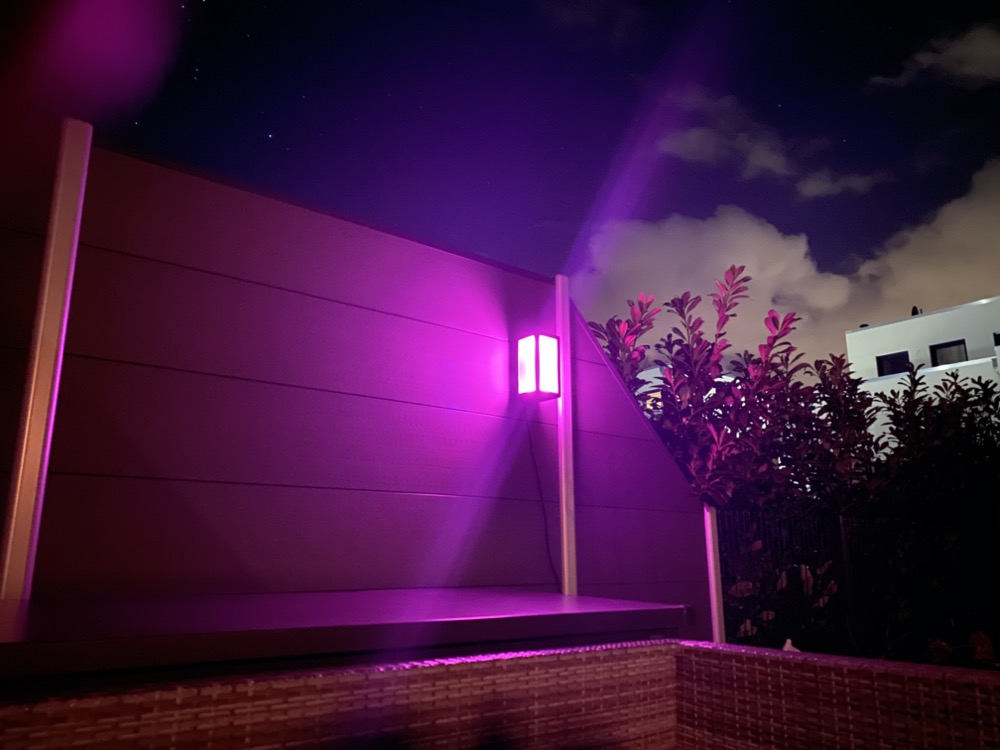
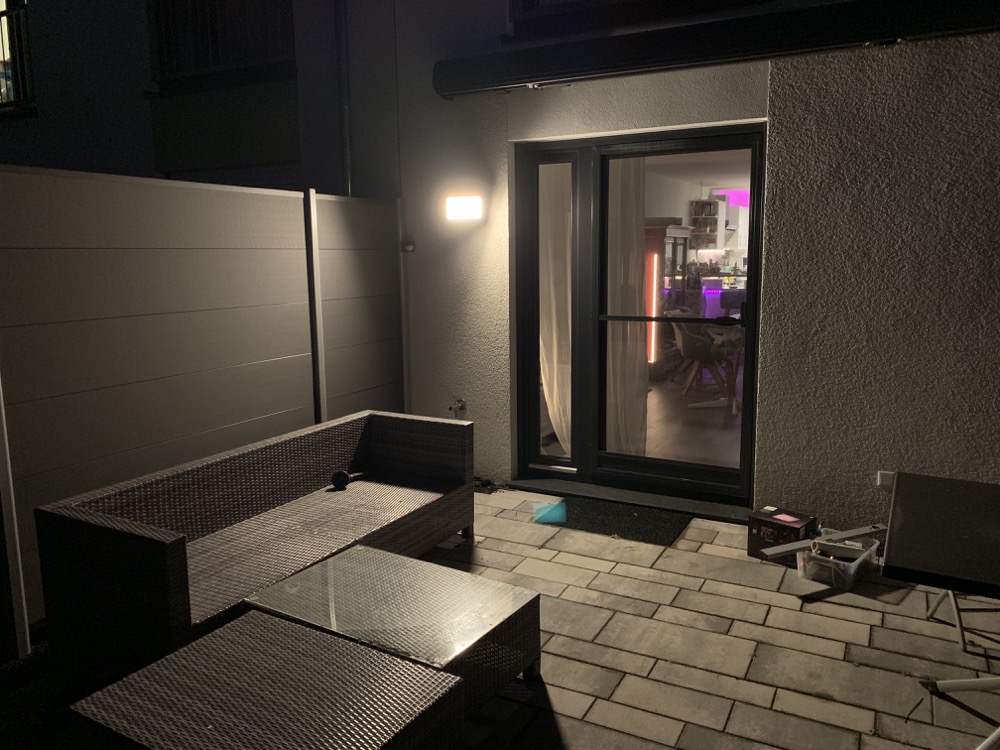
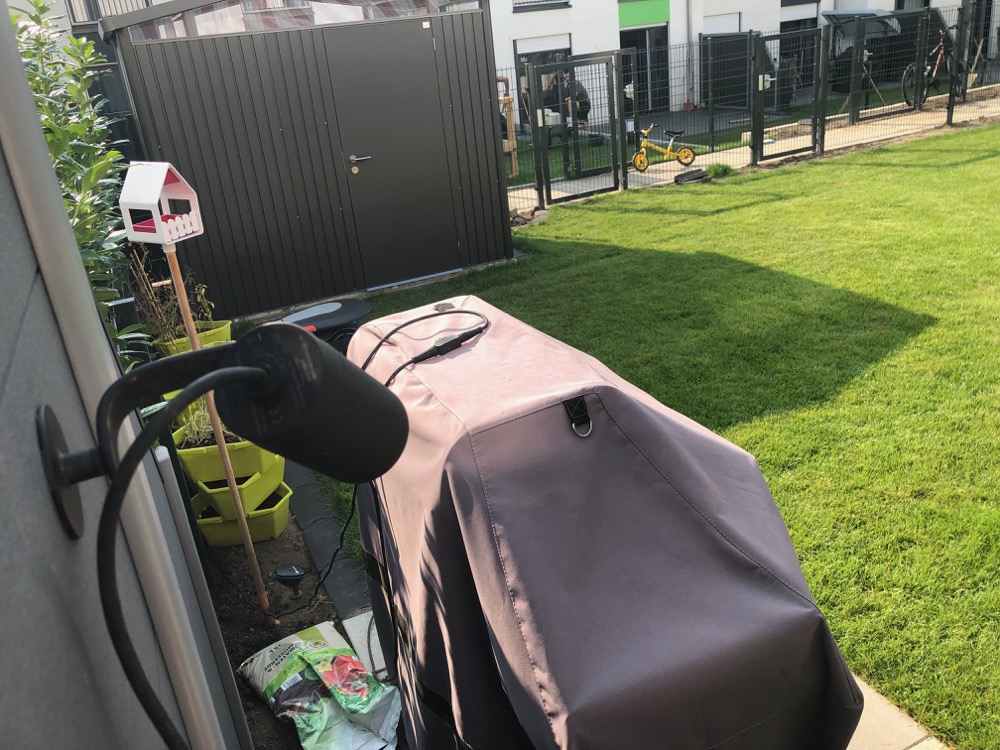
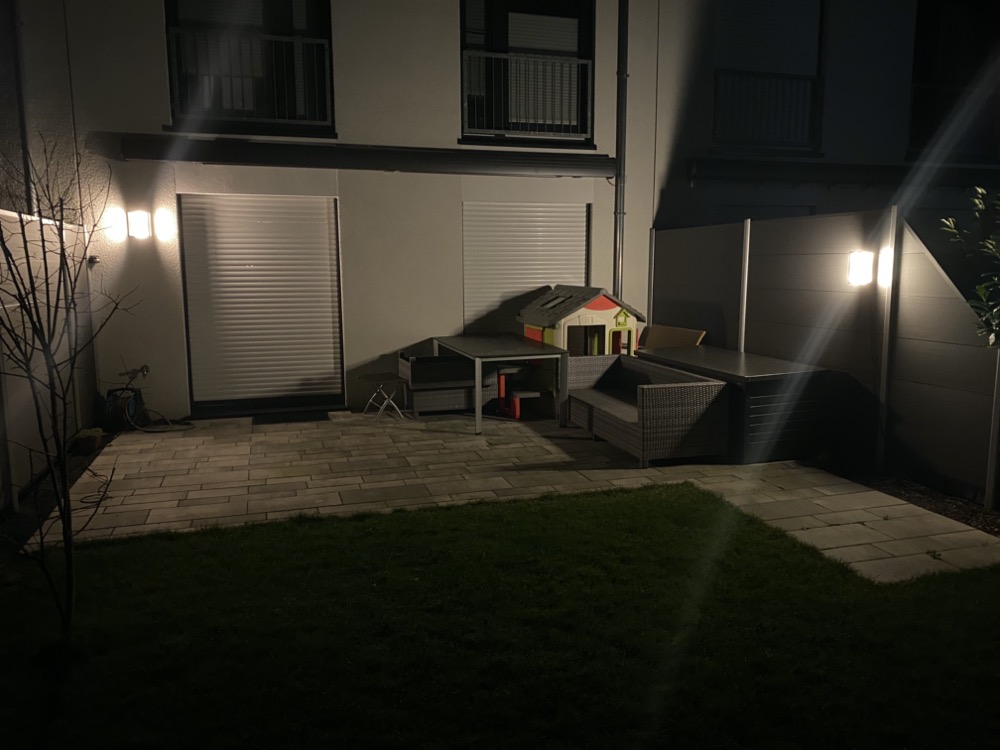
Before we start, I would like to briefly explain what has been installed so far. A Philips Hue Discover was used on the wall: the floodlight is quite bright with more than 2,000 lumens. Additionally, it can be swivelled, which I found very useful. However, the Discove doesn’t win a beauty prize. This is one of the reasons why I planned to replace it. On the other side of the terrace, I attached a Lily spot to the terrace partition in order to illuminate my barbecue corner. Here are two pictures of the previous installation:
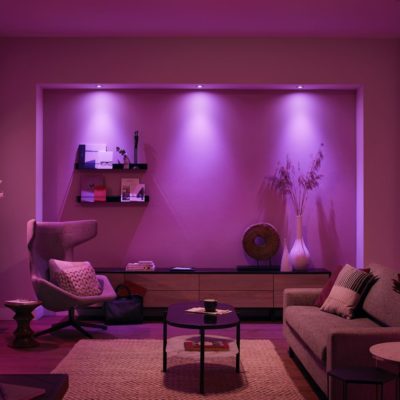
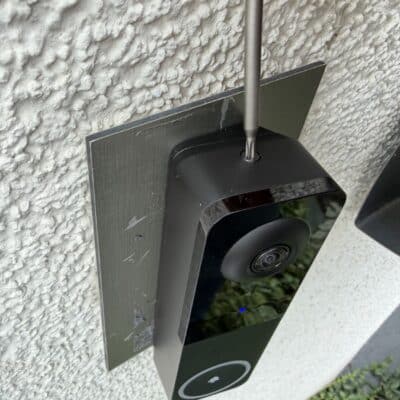
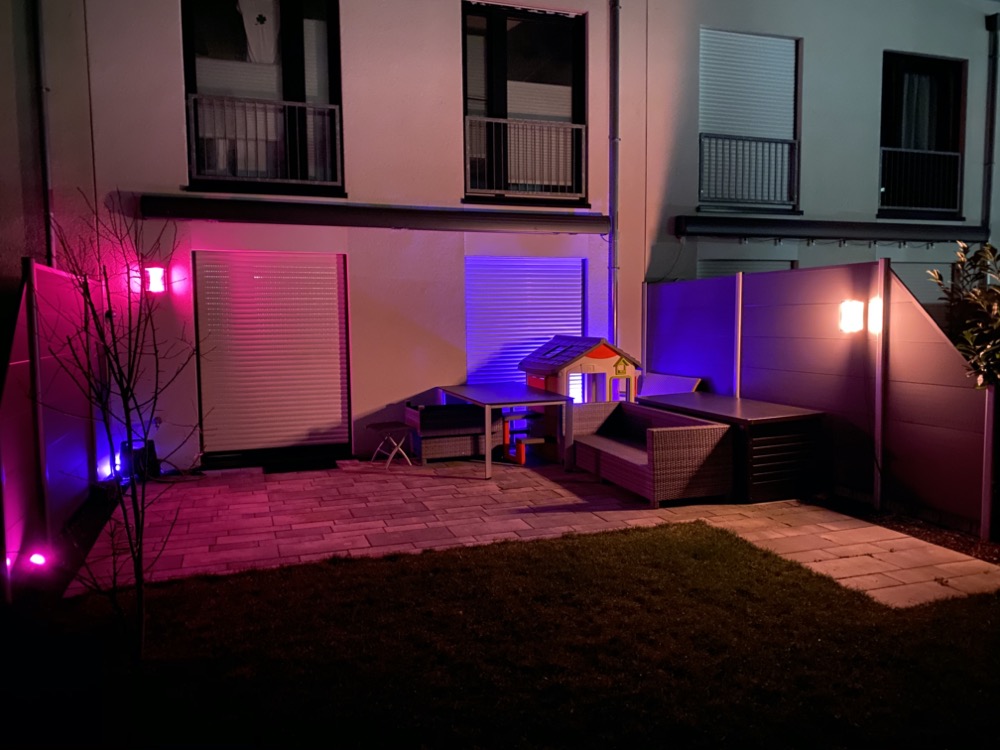
These two lamps were replaced by the Impress wall lights
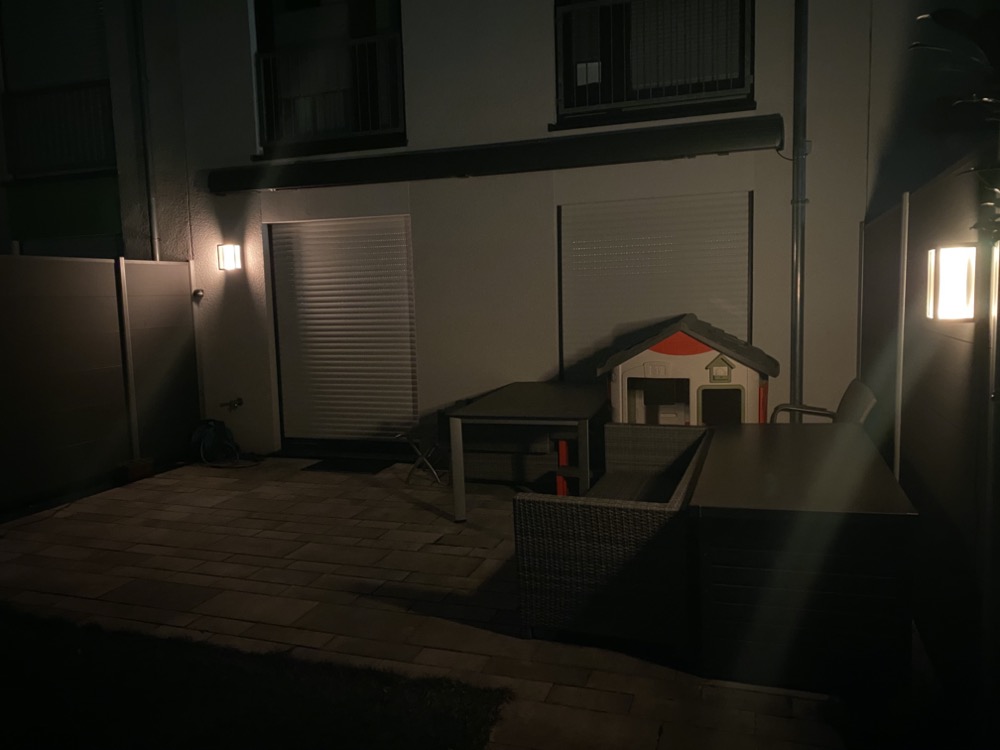
With the Hue Impress I wanted to create a consistent image and, at least that’s my first impression, I succeeded.
Classic Hue Impress wall lamp has no surprises
Let’s start with the installation of the well-known Philips Hue Impress wall lamp, which requires a fixed power connection. It is available in two versions: these differ only in their housing shape. The narrow model measures 12 x 24 cm, the wide model measures 19 x 24 cm. Both can handle 16 million colours and offer a maximum brightness of 1,200 lumens. The prices are currently between 100 and 115 euros.
The installation of the Philips Hue Impress wall light comes without surprises. The mounting plate is made of plastic, you have to pierce the two holes for screwing it to the wall yourself. There is not much space for long cables, at the end the Impress is held on the mounting plate with two silver screws that do not match the colour of the housing.
At least this small point, which I have always noticed in the previous outdoor models, has been corrected by Philips Hue. On the new 2020 models, dark screws are used for anthracite cases. Just a small detail, but it simply looks better this way.
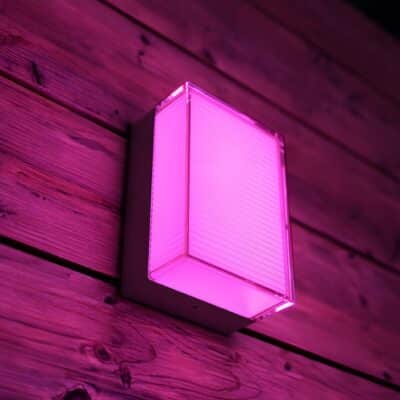
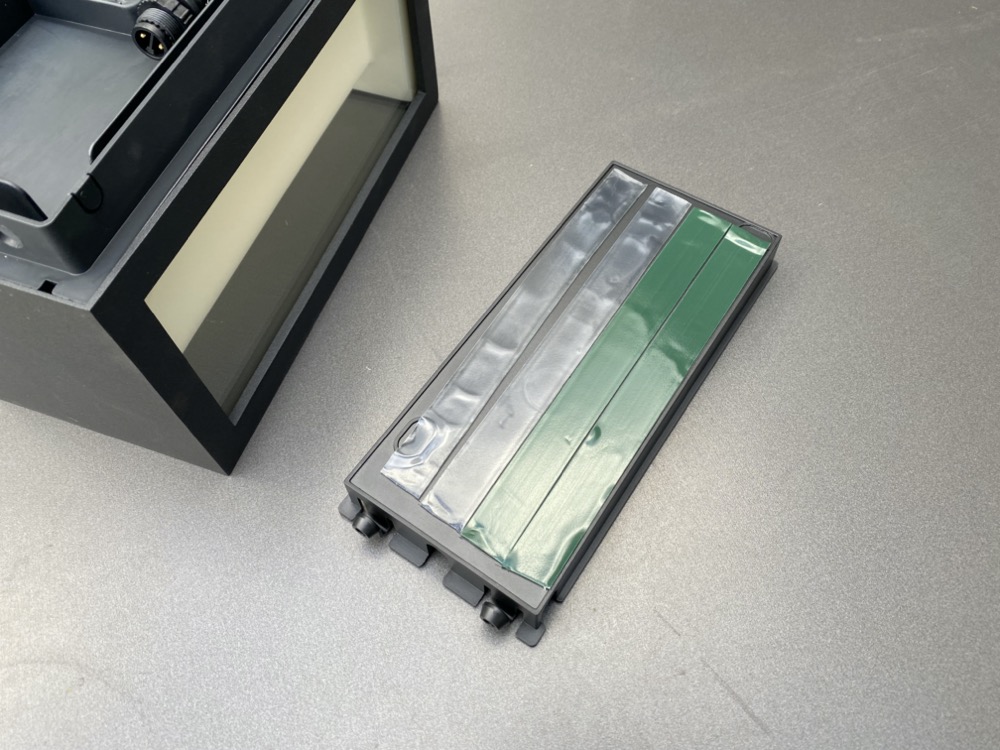
This is the new Hue Impress wall lamp with low voltage connection
The low-voltage version has screws, but normally you don’t have anything to do with them. The wall luminaire is simply clicked onto the mounting plate attached to the wall – it couldn’t be simpler. And I also like the optionally available solution including a low-voltage cable, because for me it is a real problem solver.
The low-voltage variant can be mounted independently of a fixed power connection. The Philips Hue Impress’s cable management is intelligently solved: there are cut-outs to break out the cable to lead it away to the left, right, top or bottom. Alternatively, the cable can also be routed away to the rear through the mounting plate. This is a suitable solution if, for example, you want to attach the Hue Impress to a wooden fence or summer house and want to hide the cable on the back of the wall.
Please note: the low voltage version of the Philips Hue Impress is only sold as an extension set, the scope of delivery just includes a five meter extension cable and a T-piece for connection to an existing low voltage system. A version including power supply is not sold. However, Philips Hue will be offering this one individually for 39.99 euros from the end of February. From April, there will be a 100 Watt version as a powerful alternative to the 40 Watt power supply, which can be used to operate even more lamps.

In my case, the cable hangs down from the wall. At the moment, the cable is still a bit too short, I have to optimize it in spring – so that the cable can be led straight down the wall, which should look a bit cleaner.
By the way, I didn’t screw the low voltage wall light, which has a maximum brightness of 1.200 lumen, down. Instead, I attached a double-sided outdoor adhesive tape from Tesa to the mounting plate, which should easily hold the weight of almost 2 kilograms.
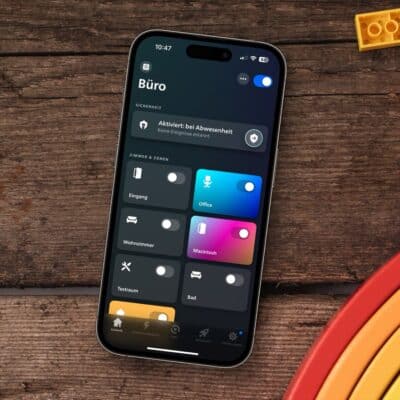
Replacing the previous lamps with iConnectHue
I don’t have to explain the setup to you – they are added to the Hue app like normal lamps. But for the sorting into the existing rooms I used the new light migration wizard of iConnectHue (App Store link). Unfortunately, this new feature is only available with the Pro subscription. Still, it saved me a lot of work.
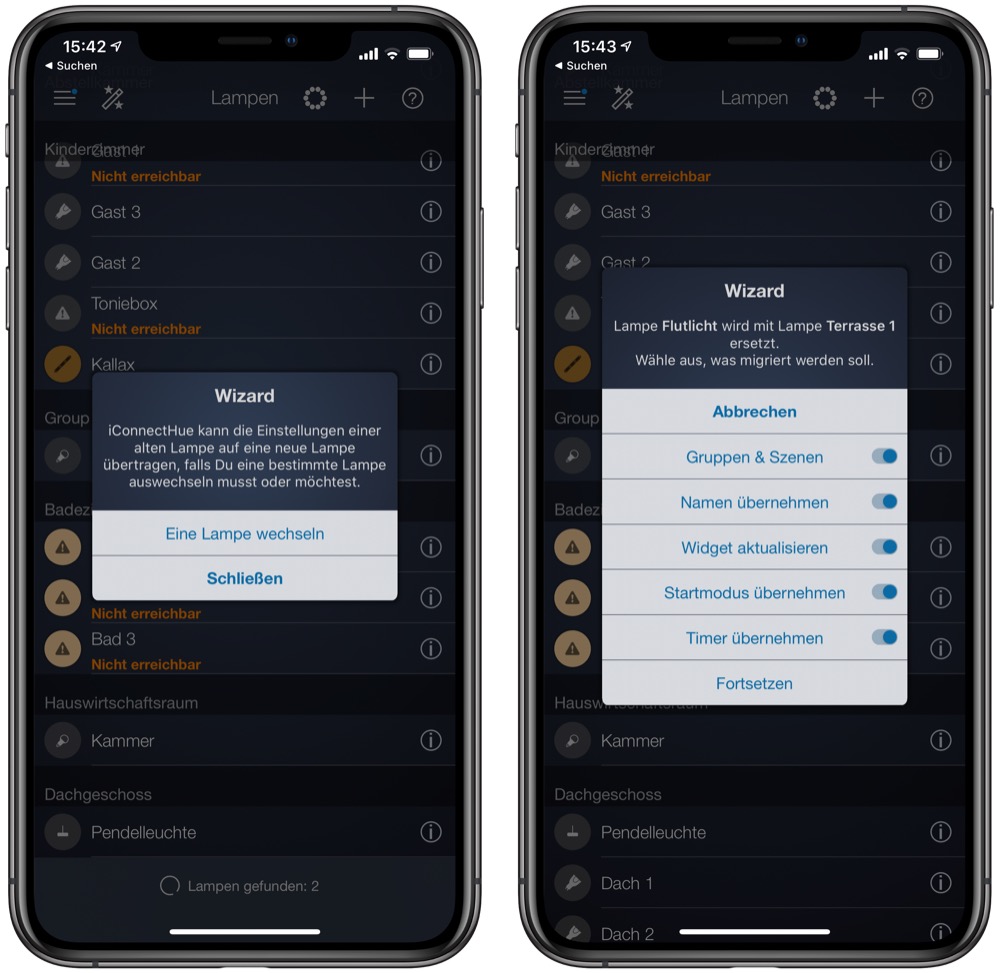
In the lamp settings, you can start the light migration wizard at the push of a button and then first select the old lamp. Then click on the new lamp and you can apply all settings: all groups, scenes, widget entries, the name and the start behaviour are transferred from the old lamp to the new one. Afterwards, the old lamp can be also deleted straight from the bridge. Really easy and comfortable, especially if you have already set up many scenes and switches.
Terrace will be upgraded in spring
A small note about the photos in this article: after storm front Sabine has provided a good breeze here in the Ruhr area during the weekend, everything is still arranged in a corner on my terrace and partly also connected. In spring, we will work on the terrace again and also the Lily spots on the floor will be positioned properly. But I like it quite well already.
I’m about to try something similar, I’m just wondering what was the specific tesa double sided tape you used? How well did the tape mounting hold up?