


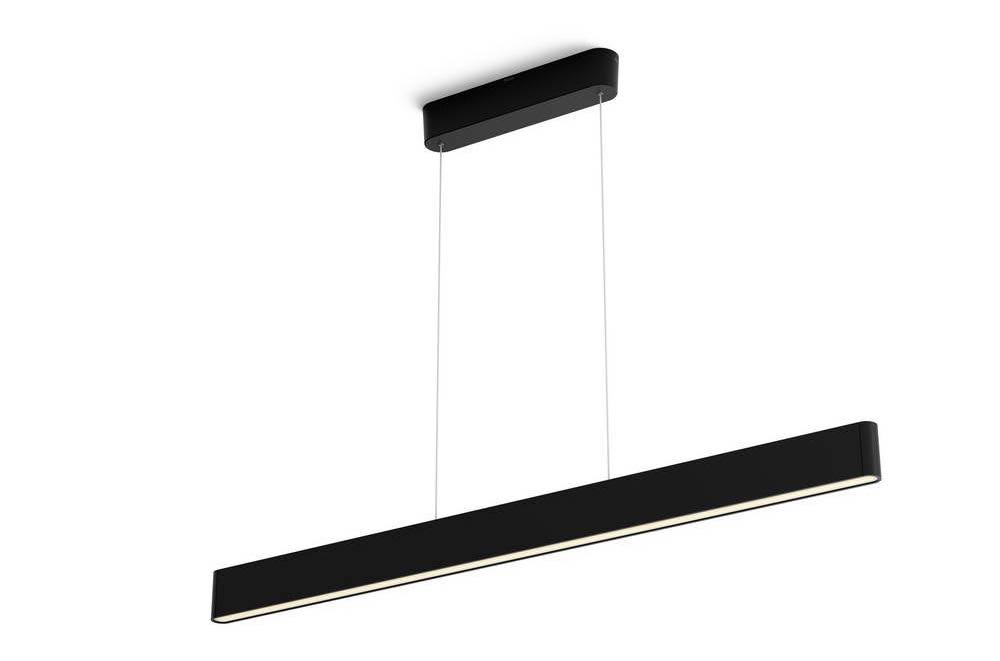
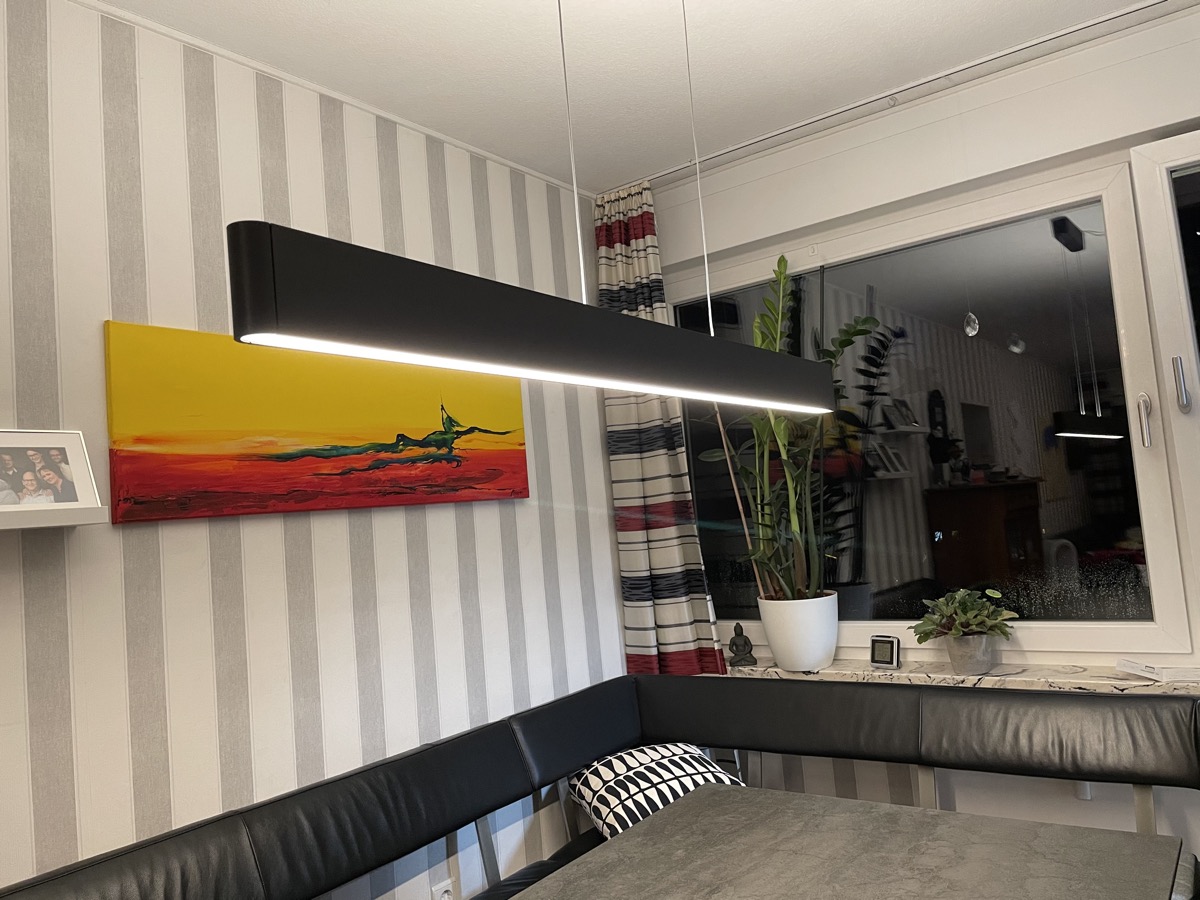
Some time ago, my colleague Frederick already told you a few details about the Philips Hue Ensis. At that time, he introduced you to the white version, but in the meantime, the pendant light is also available in black. Reason enough to take another closer look.
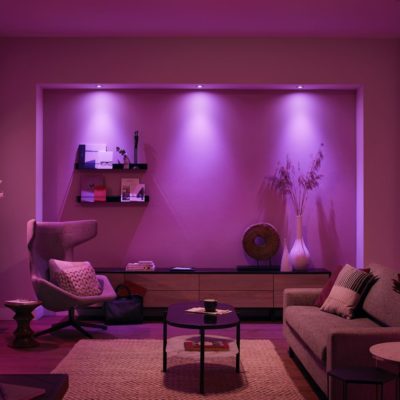
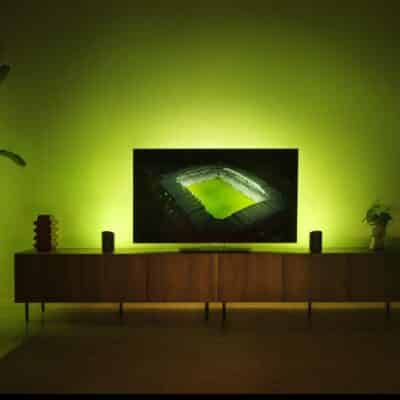
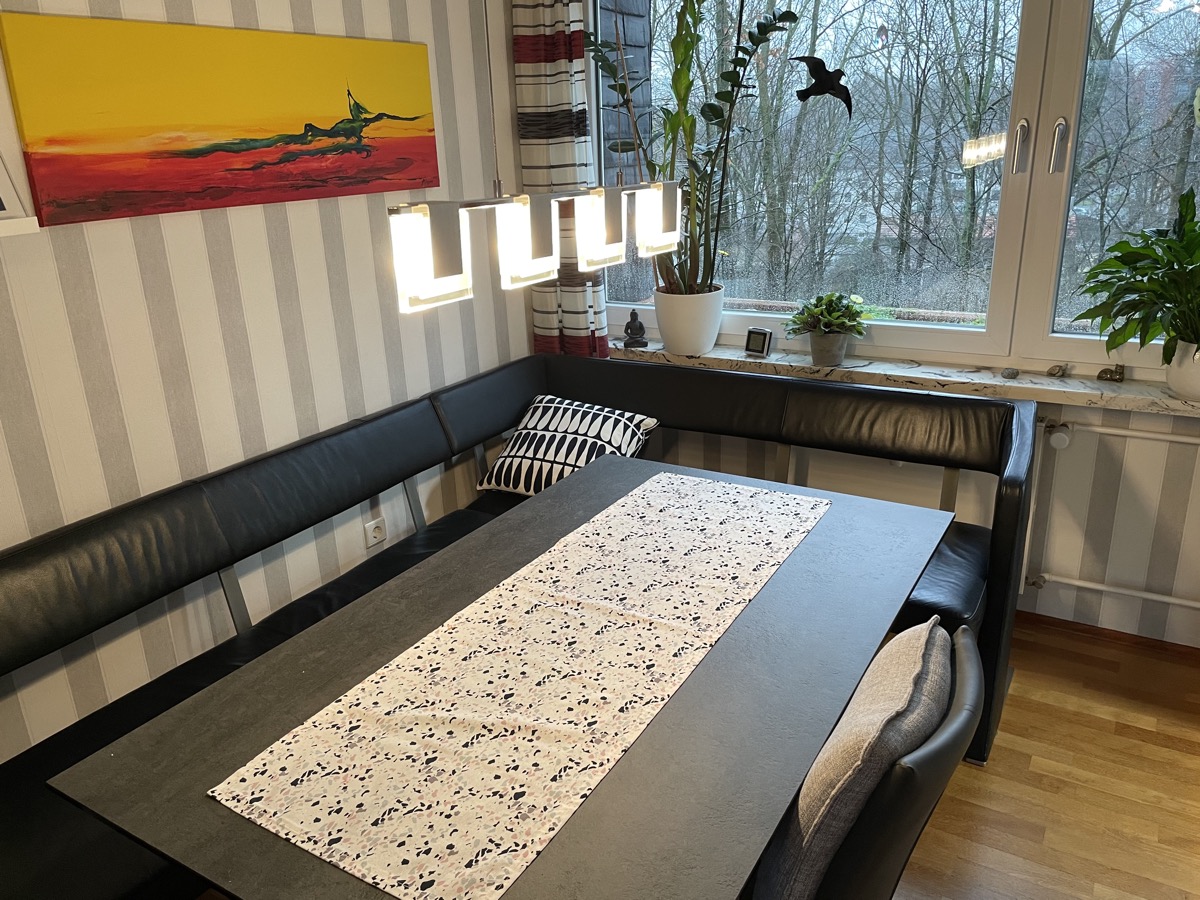
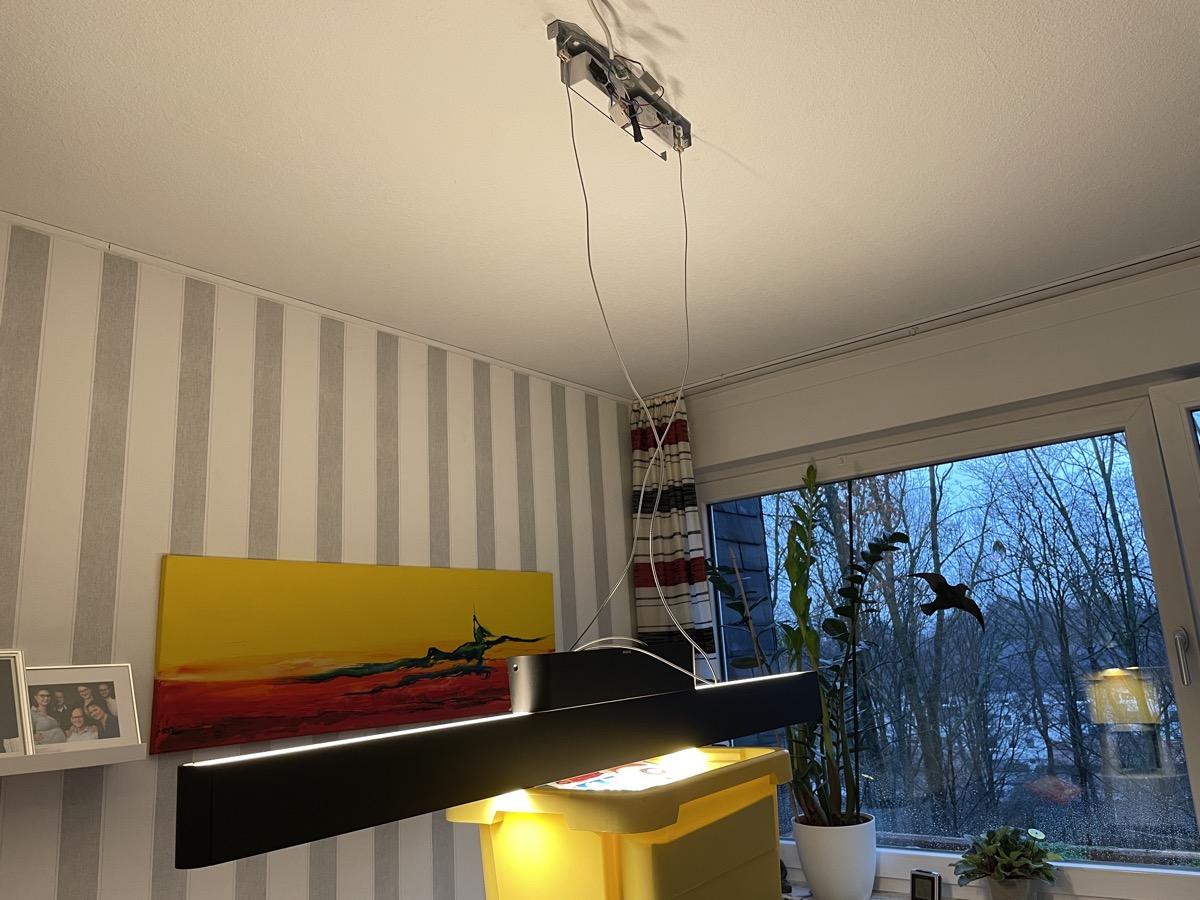
But where to put the almost 130-centimetre-long lamp, which can shine in different colours at the top and bottom and thus achieve a brightness of up to 6,000 lumens? Luckily, my in-laws were looking for a new pendant light for their dining table and they liked the black Ensis. So let me take you on a little step-by-step tutorial.
The installation of the Philips Hue Ensis in detail
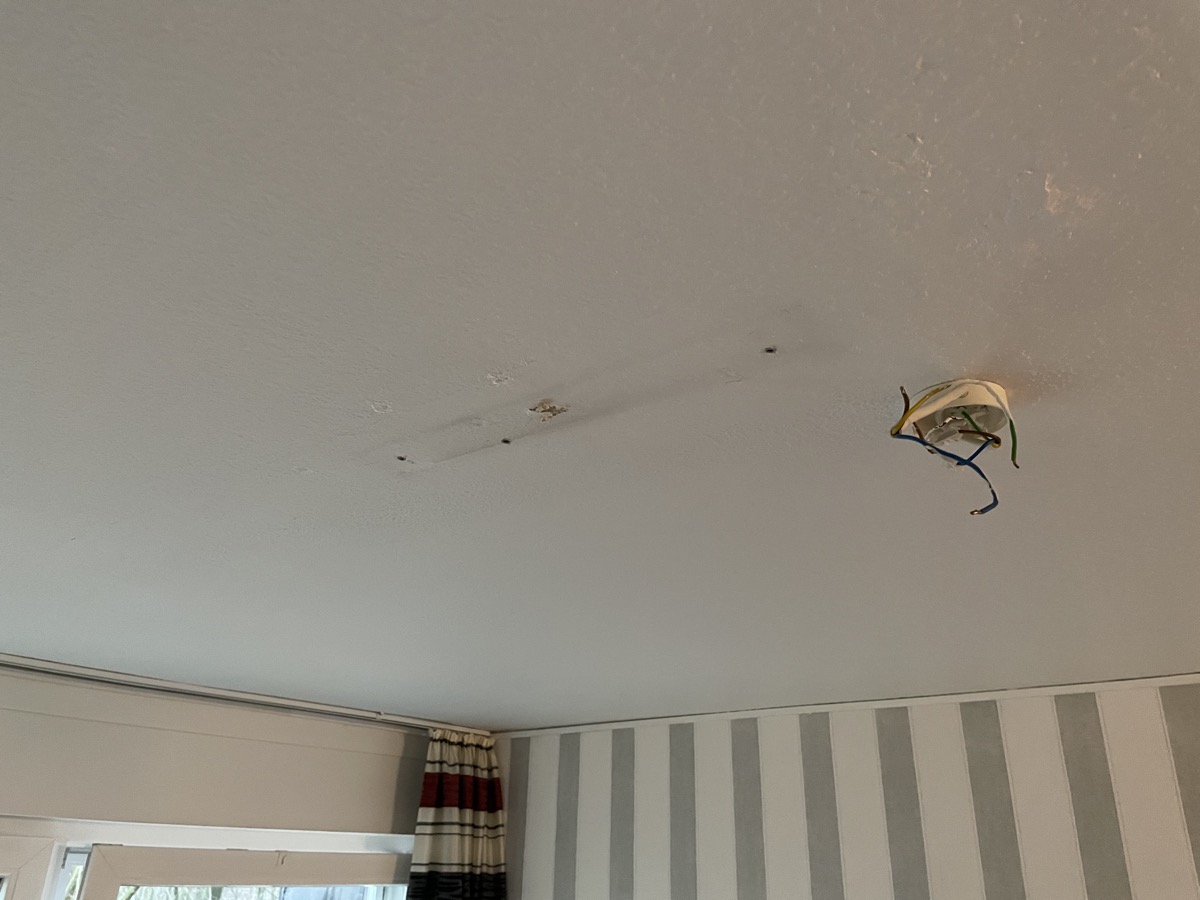
Step 1: First of all a look at the before-condition. You can see a halogen luminaire that demands over 100 watts of power in operation. With the Ensis, by the way, it is a maximum of 39 watts.
Step 2: The old lamp is removed. In order for the pendant luminaire to hang in the centre above the table, you can see the little monkey swing very well here.
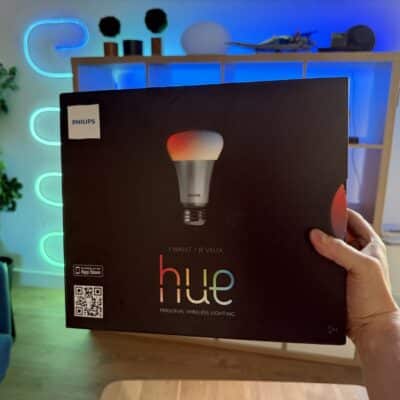
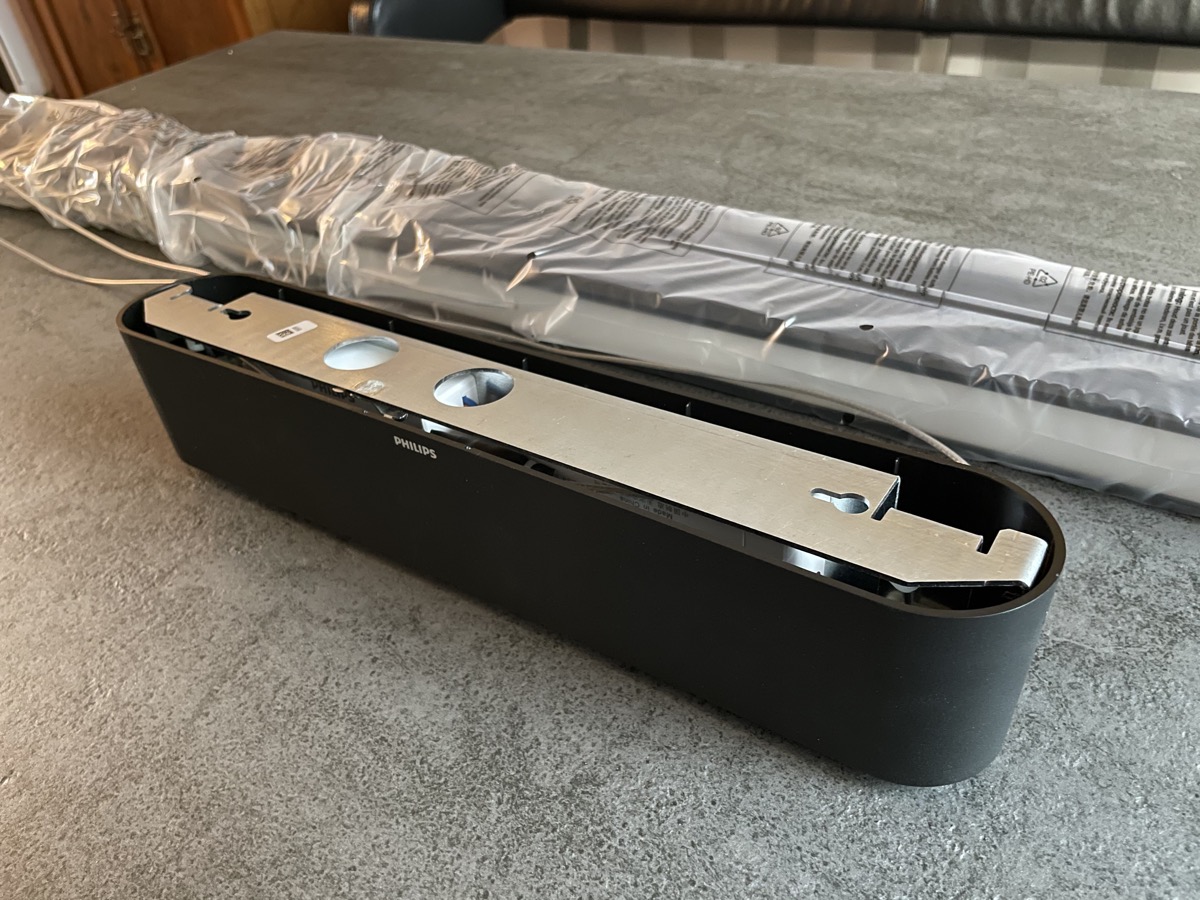
Step 3: The black Ensis is unpacked. First of all, the holder has to be mounted. Practical: after drilling, the bracket can simply be hooked into the screws, which are not yet fully tightened. This makes mounting much easier.
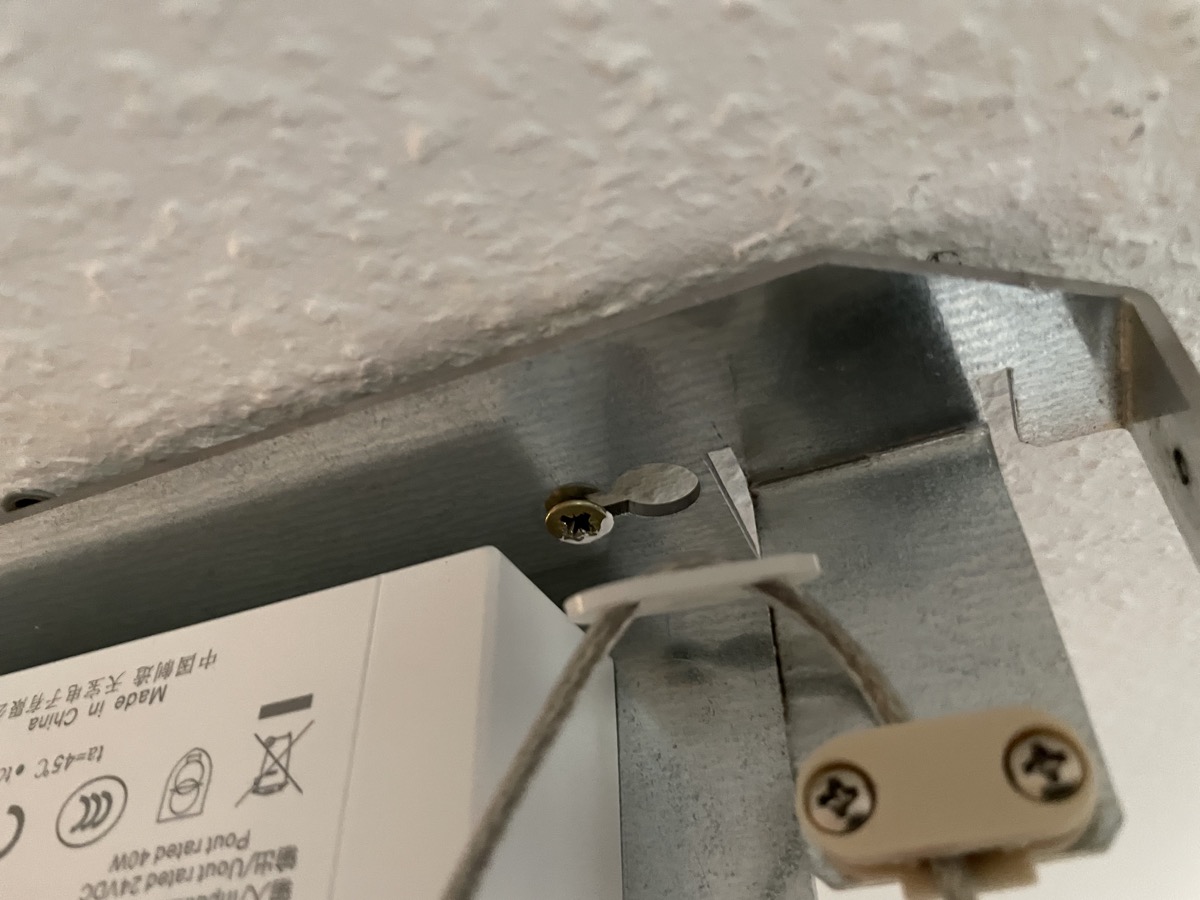
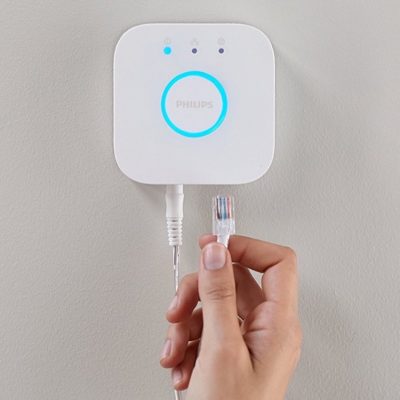
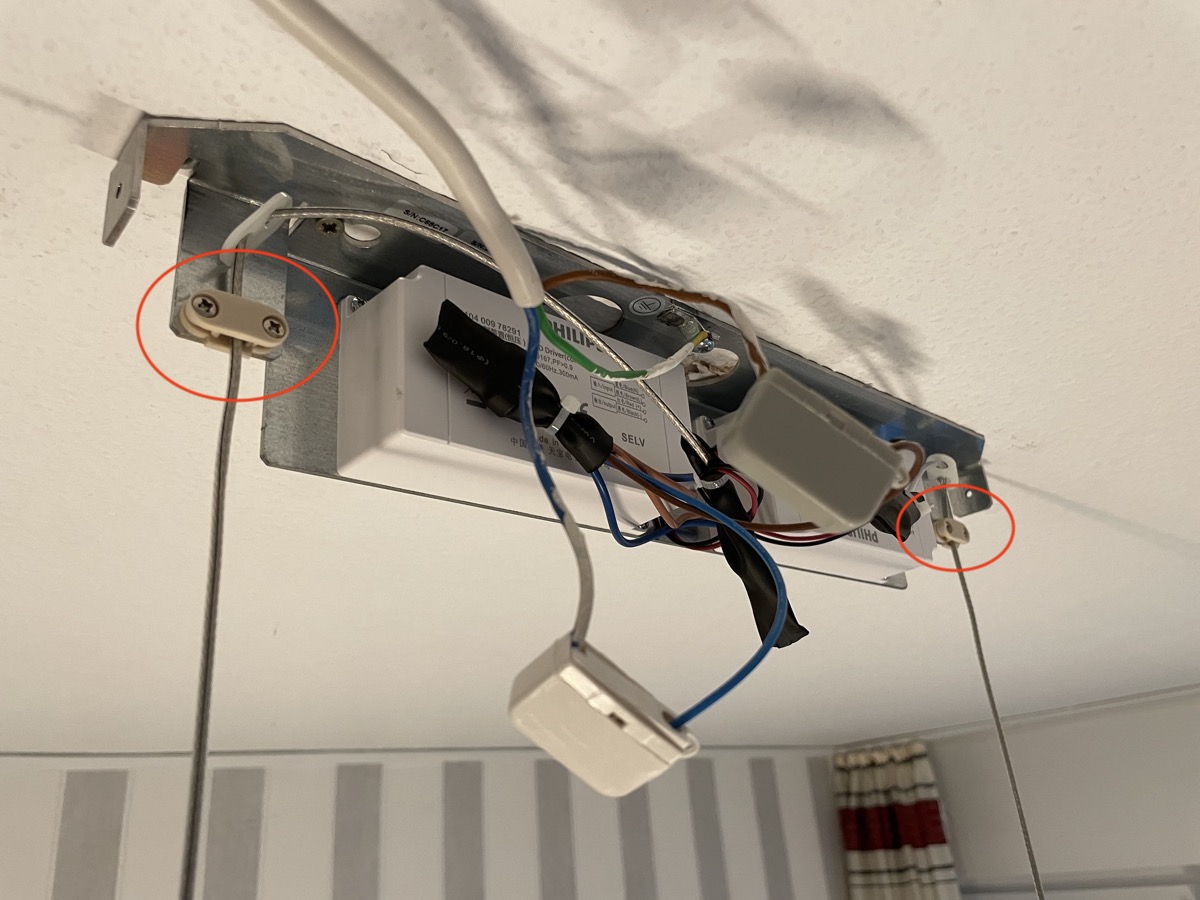
Step 4: After tightening the screws, the wiring can be done. With a little light, it is then a little easier to work.
Step 5: To shorten the two cables (cable lengths of up to 150 centimetres are possible), it is best to bring the Ensis a little higher than it will later hang. That way you can work much more relaxed. In the second picture, you can see the two clamps circled in red with which you can adjust the length of the cables. I would have liked a solution that was easier to handle. Then it would be a bit easier to adjust the pendant light.
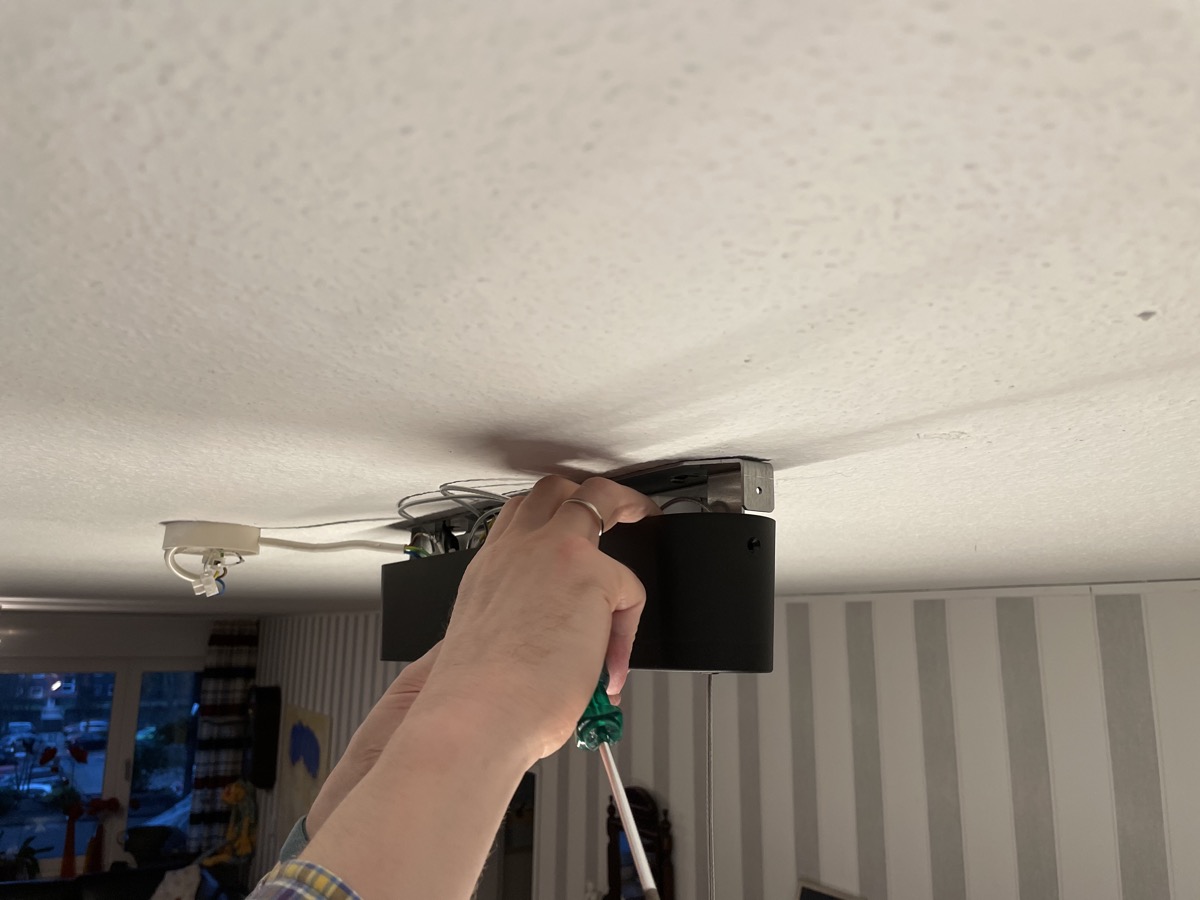
Step 6: The last step is to hide the cables in the cover and fix it with two screws. Here you have to be a bit careful if it hooks a little bit, because the screws are quite soft. For the monkey swing, we had to do up the plastic casing a bit.
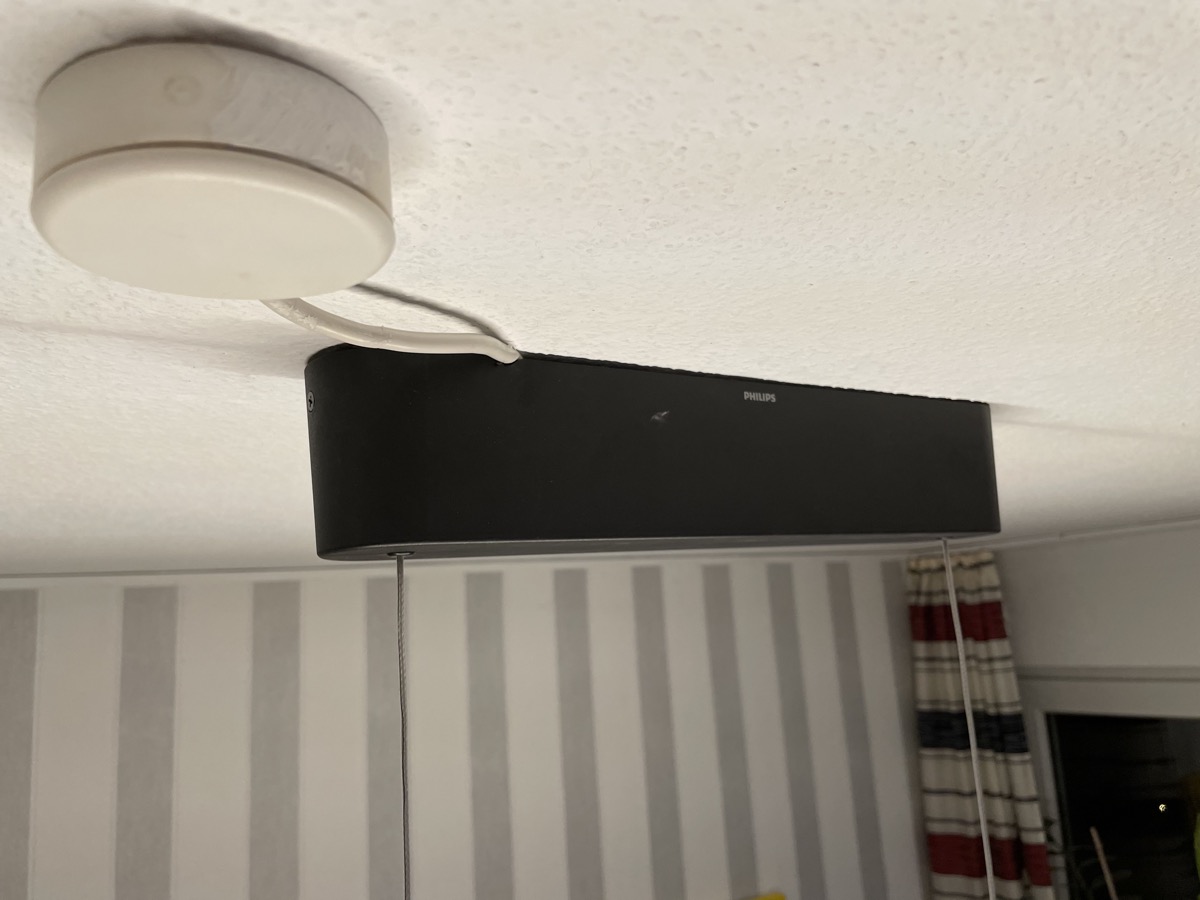
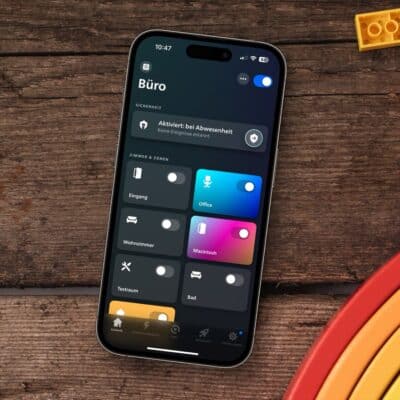
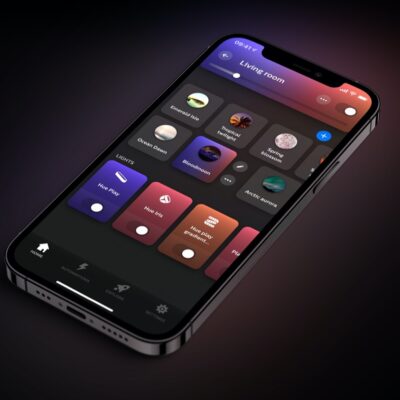
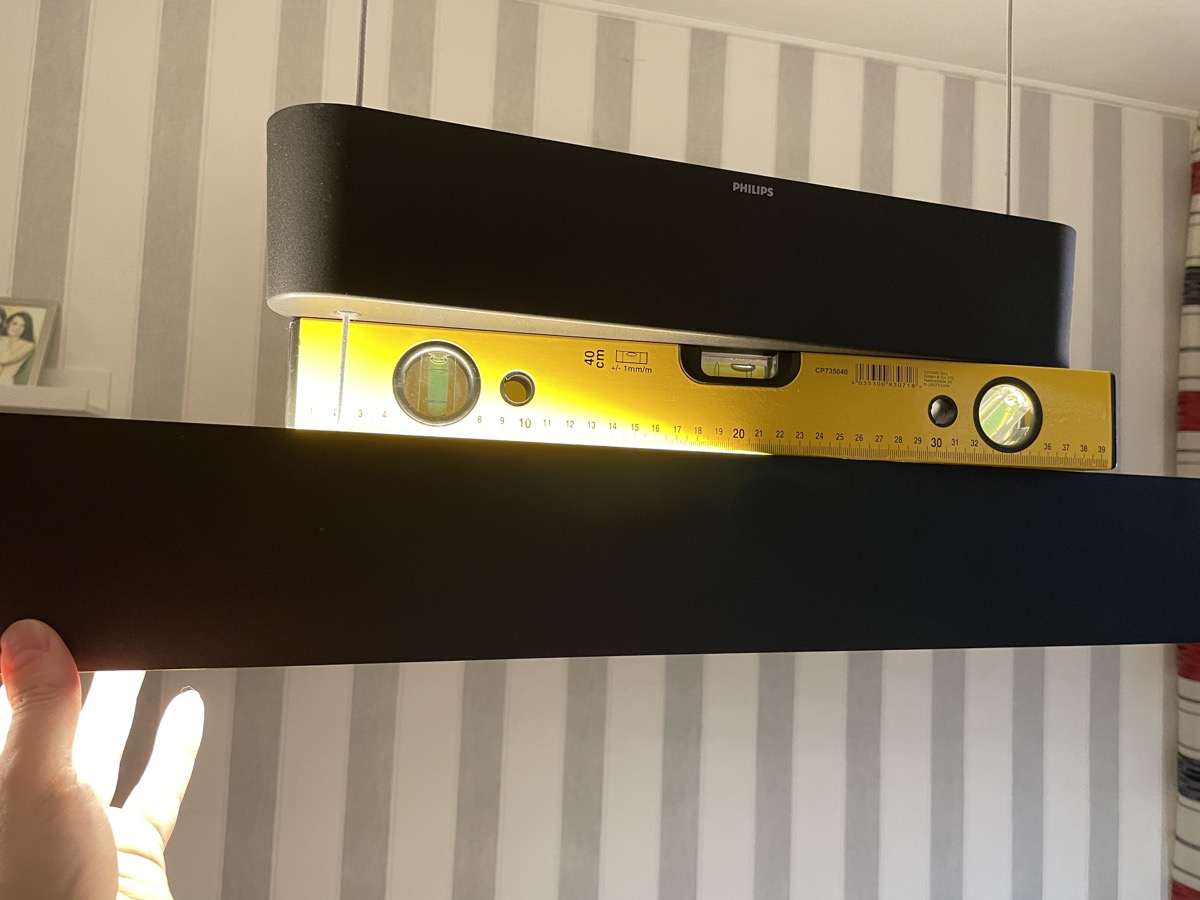
Step 7: There it hangs, the black Ensis. The biggest challenge is certainly to attach the holder exactly straight to the ceiling. Due to the length of 130 centimetres, it is noticeable if you do not work precisely. The subsequent configuration in the Hue app works quite normally – the Philips Hue Ensis is displayed as two individual lamps.


Will post mine when installed
Is it mandatory to have the app installed or does it have a default light mode, that can be switched on/off without any apps (if no hue changes are wanted)?
hi, how was your Ensis packaged? Mine, new, was badly packaged; the top unit slided loosely out of the cover in the box, on top of the lamp. thanks for any feedback on this, so I can contact the seller.
a product of this price should be properly packaged…
Hi, do you know if longer cables are available for the Ensis?
That installation is shockingly bad, why is the ceiling rose still in place with a trailing wire to pendant?